This guide explains the steps necessary for dividing (un-merging) patient records that you have merged by accident.
o It applies mostly to Clinical installations. If you have Pracsoft also (or only), you can still use this method to restore the individual patient records. However this process does not reverse/undo any financial transactions or visits recorded on behalf of the merged patient record, during the period it was active.
o For dividing merged patients in Bluechip, you must contact MedicalDirector Customer Service.
Procedure
1. Before you begin, ensure you have performed a fresh backup.
2. Now, obtain an old backup of your Clinical database, made prior to when the patients were merged. This backup will contain the individual records for each patient.
3. Take the backup to a workstation computer.
o If the workstation is a spare computer, not generally used by your staff, you can install Clinical to it now. Ensure you install/update to the same version as found on your server computer.
o If the workstation is usually used by your staff i.e. it has Clinical/Pracsoft on it already, its current 'role' will be 'workstation'. You need to modify this, so that the computer runs as a 'standalone' installation. For instructions, follow the guide Modifying Current Installations.
4. Now that the workstation computer has been configured to be 'standalone', it is ready for you to restore your old backup to it.
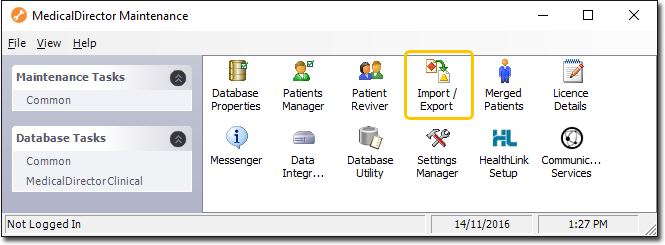
5. With the backup restored, export the two patient records. To do this, locate and double-click the MedicalDirector Maintenance icon ![]() on your desktop. The MedicalDirector Maintenance window appears.
on your desktop. The MedicalDirector Maintenance window appears.
6. Select the Database Tasks > Common menu item.
7. Double-click ![]()
(Optional) If this is the first time you have tried to access Import/Export during this session of working in MedicalDirector Maintenance, you will be prompted to select a Configuration, and enter your Username and Password.
8. The Import/Export Wizard appears.
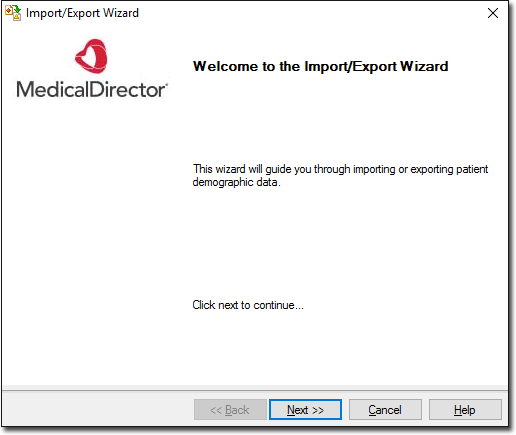
9. Click  to continue.
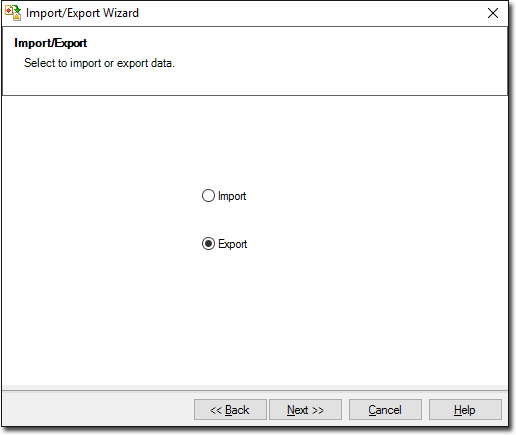
10. Select the Export option and click to continue.
11. The Data Type window is displayed. Select the Clinical option. The XML option is selected by default.
o Although you can export patient clinical data in HTML format, you cannot import it in HTML format i.e. the HTML format is provided only for viewing patient data externally to Clinical. As such, you must select the XML format.
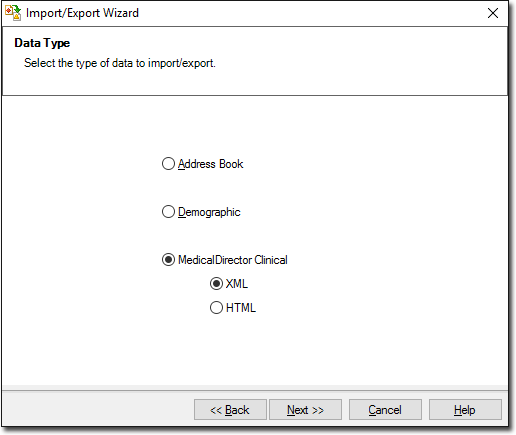
12. Click to continue. The Select Patients window is displayed.

13. Locate the patients you wish to export.
o You can search for patients by entering their first initial or partial name into the Search text box, and then clicking  Place a tick against each patient you wish to export.
14. Click when you are ready to proceed.
15. The Export File window is displayed.
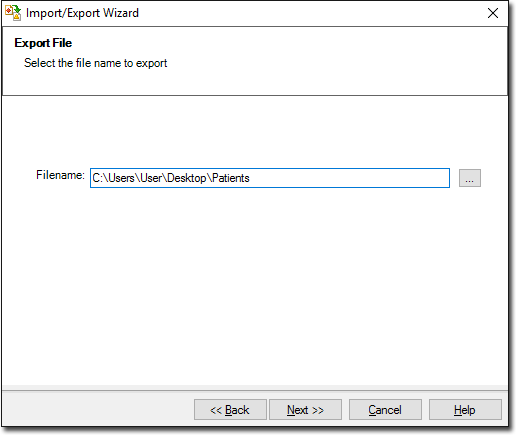
16. Click  to browse for a directory to store the file.
o Save these records either directly to your server computer, or to removable media. Regardless, you will eventually need to go to the server to import them.
o Because you have selected multiple records to export, the browse window expects you to select a folder to store all the exported files to. Within the folder you select, a second folder will be created when you perform the export. It is within this second folder that your exported files will be located. Each exported file will be named to reflect the name of the associated patient.
17. When you are ready to perform the export, click The Exporting Data process begins. You will be notified upon completion.
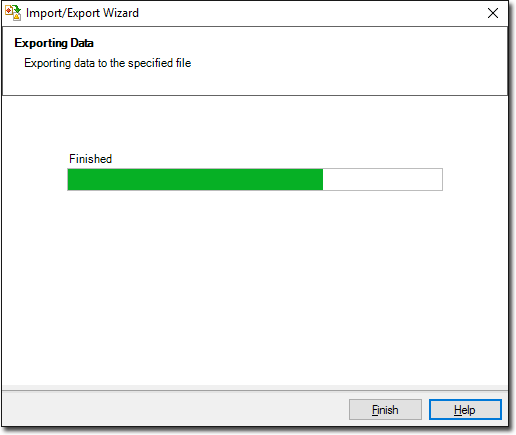
18. Click  to exit the export process.
19. With the patient files exported, go to your server computer, and import the two patient records.
o You will need to perform the import process twice; once for each patient record.
20. Still on the server computer, open each patient record to verify that you have imported the correct records.
21. Now, for each of the separated patient records, you must record all missing content (if any). In other words, if the accidental merge occurred a week ago, and since then the merged patient had content recorded to their record, this content will be missing from the two individual records you just restored from the old backup. Therefore, you must now record this content to the separated records. You can use the merged record (which you will still have) to determine what content needs to be recorded to the two separated records.
Such content might include:
Once you are satisfied that each record is now up-to-date, you can either delete the merged record, or simply flag it as inactive.
If in Step 3 you had modified the role of the workstation computer (making it a 'standalone' computer), you must now change it back to a 'workstation'. For instructions, follow the guide Modifying Current Installations.
This concludes the steps necessary for dividing merged patient records.