Overview
1. Locate and click ![]() at the lower-left.
at the lower-left.
2. Select the Settings option.

The Settings window appears.

3. Within the Billing section, click  The Fee Schedules window appears.
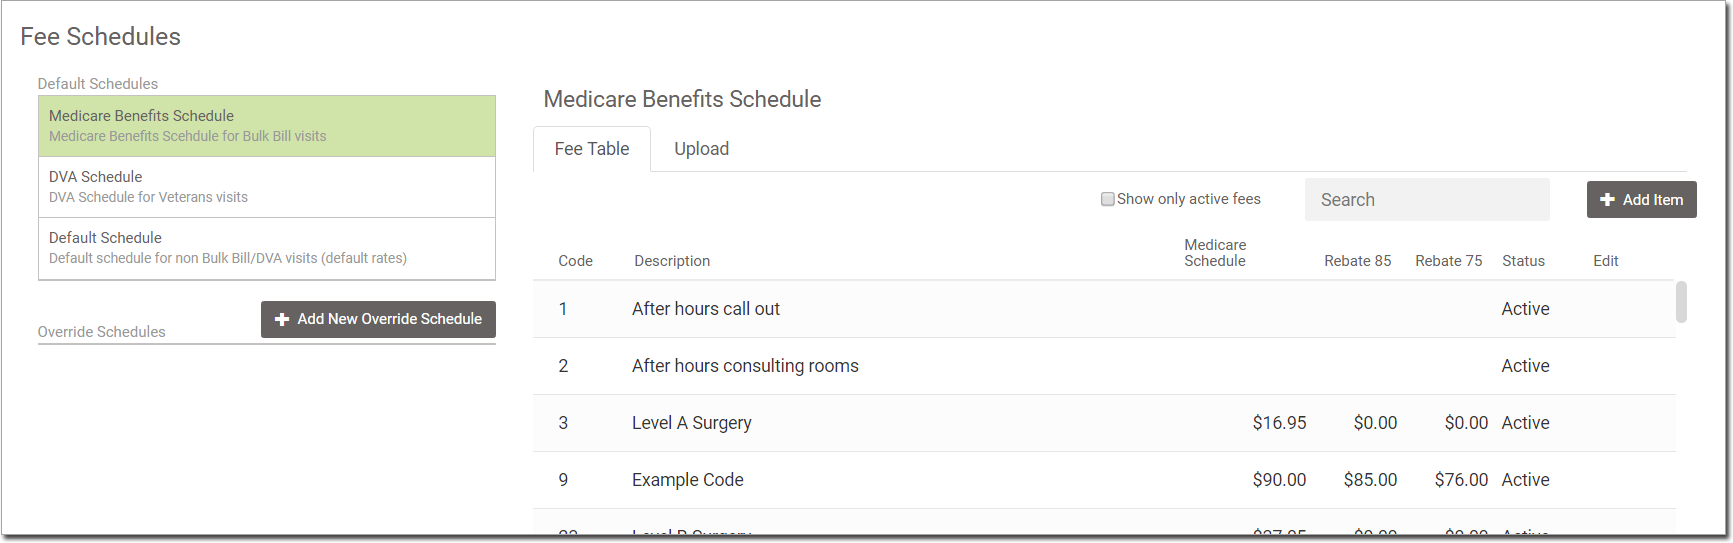
o Switch between default schedule lists via the options at left.
o A list of standard codes is displayed.
o To search for a fee, enter a code or description in the Find a Fee field.
• All matching results are displayed in the table.
• Delete the search field to return to the full view.
o To include inactive codes, check the Show Inactive check box at the top right-hand side of the tab.
• Inactive codes are displayed at the bottom of the table.
Customised Fee Schedules (Override Schedules)
Helix allows you to create customised fee schedules (called Override Schedules). You may wish to do this if it is your intention to charge different fees per-State, per-practice, or even per-user.
Each customised fee schedule you create is based on another, 'parent' schedule. For example, you could create a fee schedule for all your practices in NSW, and base this schedule on the default schedule you use for non Bulk Bill / DVA fees. This new schedule for NSW could have its own 'child' schedules - one for each different practice you have in NSW.
In the following example, we will create a schedule for our NSW practices. It will be based on our default fee schedule. We will then create a second fee schedule, which is a subset (a child of) the NSW schedule.
1. Locate and click ![]() at the lower-left.
at the lower-left.
2. Select the Settings option.
The Settings window appears.
3. Within the Billing section, click The Fee Schedules window appears.
4. Click  The Add Fee Schedule window appears.
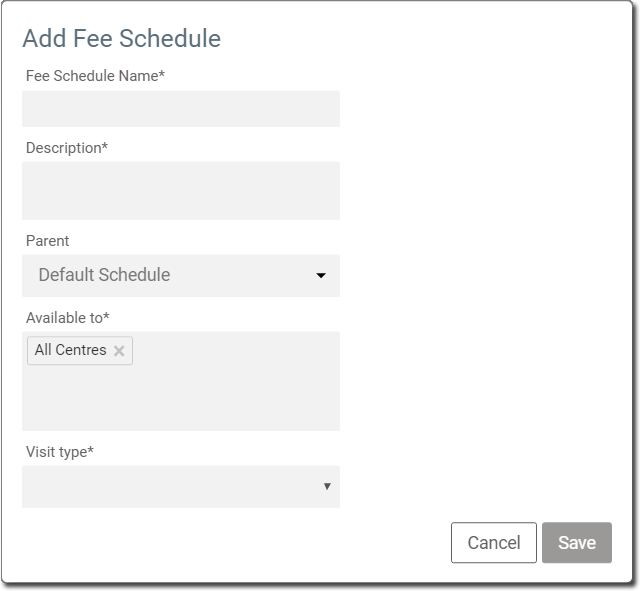
o Name the schedule.
o Provide a description.
o Indicate which other fee schedule will act as the parent for this new schedule.
o Indicate which centre(s) the schedule is available to.
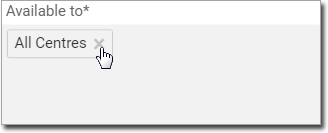
• The default is All Centres. For our example, we're going to remove this option, because we don't want all centres to have access to this new schedule.
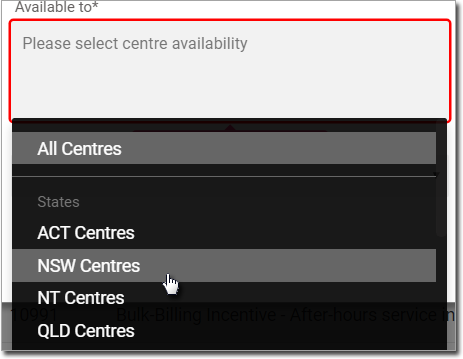
• For our example, we want only centres in NSW to have access to this new schedule, so we select NSW Centres from the list of options.
o Indicate which visit types this new schedule is available for.

5. Click  to confirm your selections. The new schedule is added to your list of available schedules.

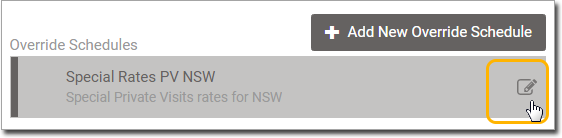
To edit the schedule, hover your mouse over the far right-hand end, and click the edit button.
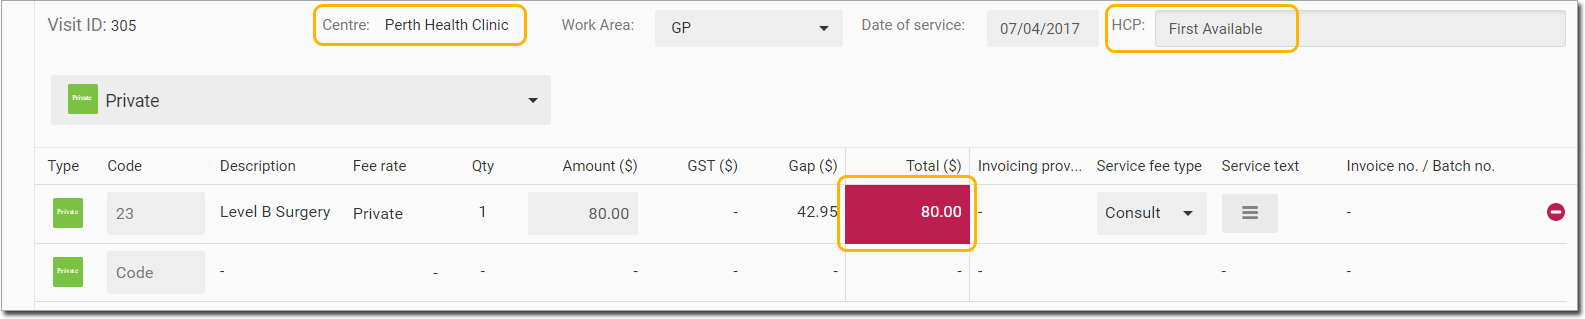
When recording a visit, the fees applied to any service items you select will update dynamically, depending on the centre/HCP you select.
Adding Fees Manually
1. Locate and click ![]() at the lower-left.
at the lower-left.
2. Select the Settings option.
The Settings window appears.
3. Within the Billing section, click The Fee Schedules window appears.
4. Click  The Add Fee window appears.
![]()
5. Complete the following information. Items marked with * are required.
o * Enter a code of your own design into the Code field.
o Indicate whether the fee is active. Note that this does not mean the fee is necessarily available for use (a stipulation determined by the Effective Date field, as shown in the second image below).
o * Enter a description of the fee.
o Indicate one or more Service Item options applicable to the fee.
o Indicate whether this fee has GST applied, by entering the GST rate.

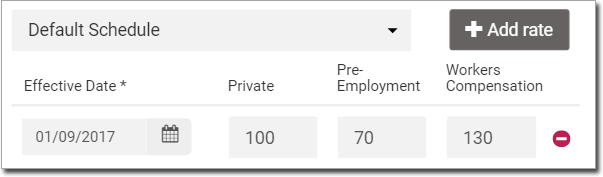
o Indicate which schedule the new fee applies to. In our example, we have selected our Default Schedule.
o Indicate the date on which the new fee comes into effect.
o Indicate the actual fee rate(s). In our example, we have different rates for Private, Pre-Employment, and Workers' Compensation billing. The options here may differ depending on the schedule you have selected.
• If you know that these rates are for a limited time, and they will change in the future, click  to create a new rate 'effective date' entry. By doing this, you can configure a set of fee changes well in advance, and forget them, knowing they will be available when they should be.
• To delete an effective date entry, click 
6. Click to confirm. Note that the Add Fee window is now labelled Edit Fee.
7. Click  to close the Edit Fee window.
Editing Fees
1. Locate and click ![]() at the lower-left.
at the lower-left.
2. Select the Settings option.
The Settings window appears.
3. Within the Billing section, click The Fee Schedules window appears.
4. Locate the fee you wish to edit. In our example, we have typed its name ("demo") into the search box (see below).
5. Hover your mouse over the Edit column for the fee, and click  when it becomes available, as shown below. The Edit Fee window will appear. See Adding Fees (above) for information on how to modify fee definitions.
