The letterhead setup needs to be modified so that account reports will print out with the appropriate details on the bottom.
1. Select Setup > Templates > Letterheads. The Letterhead Setup window appears.
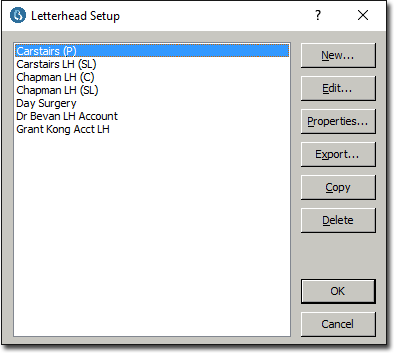
2. Select the appropriate Practitioner's letterhead template and click 
3. Scroll through the templates and find a class footer which fits with what you would like to have displayed at the bottom of accounts for this new class.
4. Highlight and copy the class footer.
5. Paste the class footer at the bottom of the template.
6. Modify the [LHClass Name] and [ELHClass Name] fields, replacing the original class name with the new class name. For example, having created a class called Test, there must be a footer in the letterhead template with the fields [LHTest] and [ELHTest].
7. Close and save the template.
8. Repeat this procedure for each Practitioner who will be using this class. Also see Account Letterheads.