Create a New 'Store' for your Location (Site) Certificate
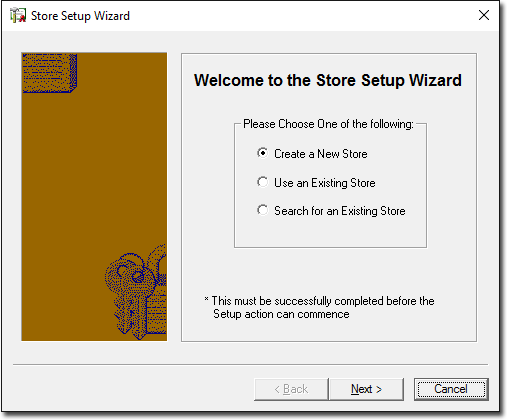
The following instructions are for installing a Location Certificate if you have never installed one before on your system. If a Certificate Store has not previously been created on your system, the Store Setup Wizard will automatically launch the first time you run the PKI Certificate Manager. You can manually launch the Store Setup Wizard on subsequent uses of this application by clicking the Setup button on the PKI Certificate Manager main window, as shown below.
1. Select
the Create a New Store
option (as shown below).
2. Click
 to
continue. You will be prompted to select the store’s location.
to
continue. You will be prompted to select the store’s location.

Either;
o Click
the  button, and browse to
the location where you want to store the hic.psi, and then type
hic.psi in the file name, or
button, and browse to
the location where you want to store the hic.psi, and then type
hic.psi in the file name, or
o Type in the path to the file e.g. C:\Program Files(x86)\Common\PKI\hic.psi
| It is essential that you include the name of the file in the path. |
3. Click
Enter
your preferred password.
o It is recommended you use your HSS number (Minor ID). Failing that, ensure you make a note of the store password.
4. Click
 to create the certificate store.
Installing Your Location (Site) Certificate
o The following procedure need only be performed on your Server computer.
o Location Certs can be requested/downloaded via HPOS.
o The PIC (password) for the Location Certificate will have been provided to your practice by Medicare Australia in a letter or by SMS. The PIC is case-sensitive.
o Launch the PKI Certificate Manger via Windows Control Panel. The PKI Certificate Manager is installed with Pracsoft/Bluechip.
Installing your Location (Site) Certificate into the Store
1. To
install the location certificates, click  (located on the Certificate Manager window). The Site
Certificate Installation window appears.
(located on the Certificate Manager window). The Site
Certificate Installation window appears.
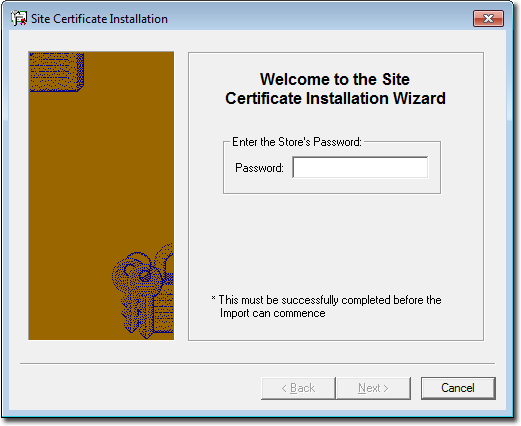
2. Enter
the store password you created in step 3 above. Click
to continue. You will be prompted to select the location
of your Certificate. Typically this will be your disc drive (as
shown in our example below).
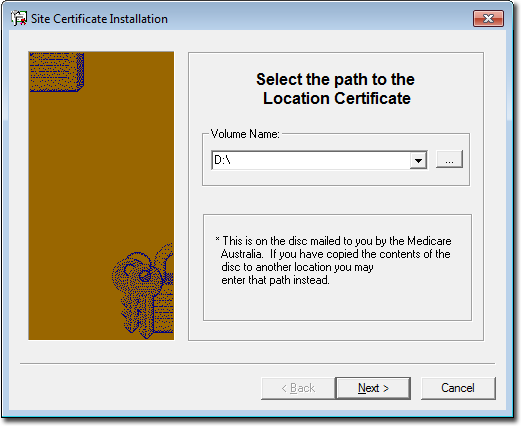
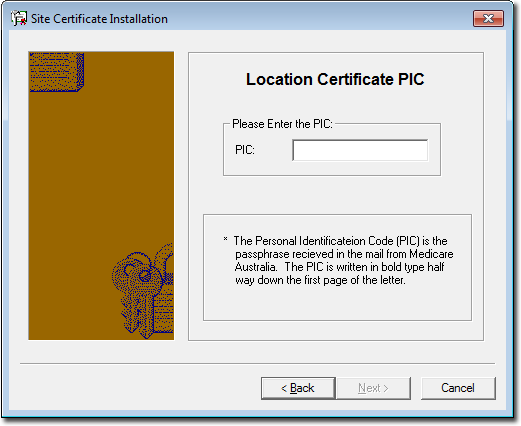
3. After
selecting the location, click
You will be prompted to enter the PIC pass phrase
supplied by Medicare (this is case-sensitive).
4. Click
The
Certificates to be imported into the store are now displayed.
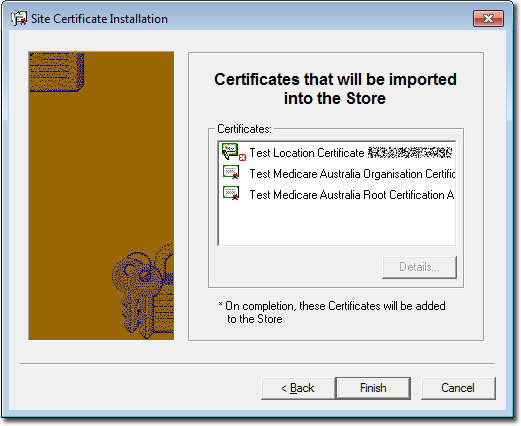
5. Click
You will be returned to the PKI Certificate
Manager.
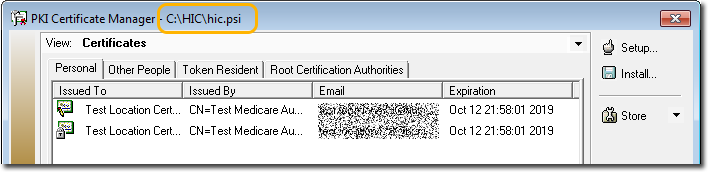
o The
Personal tab should now
display 2 Certificates.
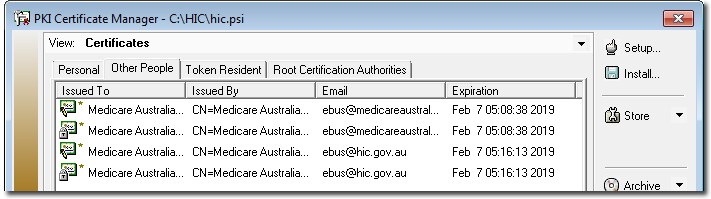
o The
Other People
tab should now display four Medicare Certificates.
Configuring Crypto Store Location for Bluechip
Open MedicalDirector Bluechip
6. Select Setup > Practice > Batch types. The Batch Setup window appears.
7. Select
your Medicare Online Bulk Bill or Eclipse batch type.
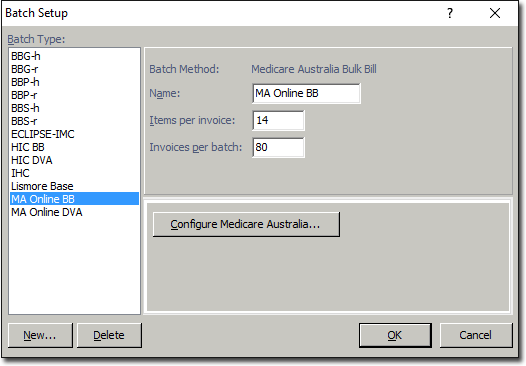
8. Click
 The
Medicare Australia Setup
window appears.
The
Medicare Australia Setup
window appears.
9. Select
the Location and Authentication
tab.
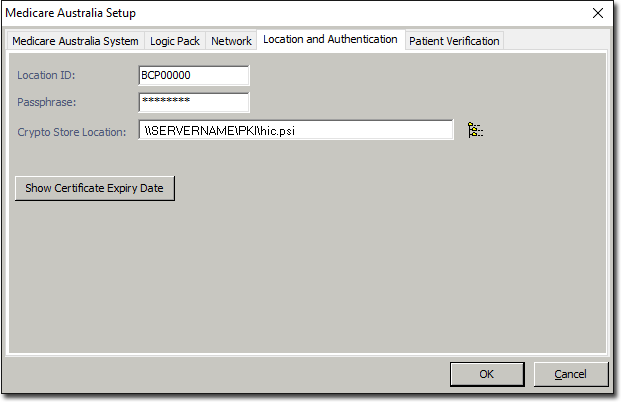
10. Enter in the pass phrase you entered when creating the Store.
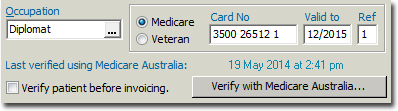
11. Open
a patient’s record in Bluechip. Locate and click  under the Medicare card number for patient.
Update the Location / Personal, and Medicare Certificates
The Personal pane in the PKI Certificate Manager holds the certificates issued to a customer. These certificates can be a combination of Individual, Location and Known Customer.
1. Close Pracsoft and Clinical on all computers, including the Server.
2. Navigate to the Windows Control Panel via Start > Settings > Control Panel and double-click the PKI Certificate Manager icon.
Select the Current Store Location
Upon opening the PKI Certificate Manager, you may encounter one of the two following scenarios:
Scenario One: If the PKI Certificate Manager already knows the location of your PSI Store, the PKI Certificate will load this store automatically.
Check the PSI Store Location listed on the title bar. In the example above, the Store location would be: C:\HIC\hic.psi. If you are unsure of the Store location, please consult the information outlined above. Proceed to the next step (Import the Location / Personal PKI Certificates) if the location listed is correct.
If the location listed is not correct:
1. Click
 and proceed to Scenario Two
(below).
and proceed to Scenario Two
(below).
2. If you are unsure of the Store Location;
o For Pracsoft: Select Setup > Workstation Settings. Confirm the store location and close Pracsoft.
o For Bluechip: Select Setup > Practice > Batch types, select the batch type, and click the Configure Medicare Australia button. Then select the Location and Authentication tab.
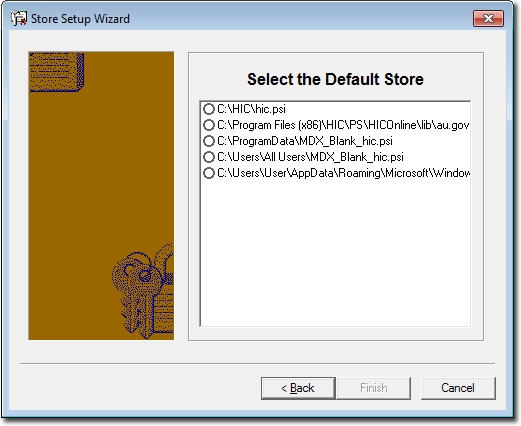
Scenario Two: If you are opening the PKI Certificate Manager for the first time or need to specify a new store location, you will need to select your current PSI Store location. The following prompt appears:
The recommended options are to either:
o Use an Existing Store: This option will ask you to browse to the PSI Store (the location of the certificate database); you will need to know where the store is located in order to browse to it.
o Search for an Existing Store: This option will attempt to search your computer automatically for a PSI store. If you choose this option, you will then be prompted to select the drive letter you wish to conduct a search on and click the Next button to conduct the search. From the search results returned, select the store location you wish to use and click the Finish button to confirm.
• Note the default PSI Store location is C:\Program Files\Common Files\PKI\hic.psi
Once you have found and selected the PSI store, the PKI Certificate
Manager will remember this location. The next time you open the
PKI Certificate Manager in the Control Panel it will automatically
know where your PSI Store is, and will not ask you to locate it
again.
Import the Location / Personal Certificate
To import the location / personal certificate through the PKI Certificate Manager:
1. Once
the PKI Certificate Manager is open, click
2. You
will be prompted for your Store password. The Store password was
first set when installing the certificates.
3. Select
the location of the HIC certificates. If you are installing the
certificate from a CD, please change the drive to the appropriate
drive letter, i.e. D:\
4. Enter the new PIC pass phrase.
5. You
will be presented with a list of certificates that will be imported.
Click to continue.
Import the Medicare Australia PKI Certificates
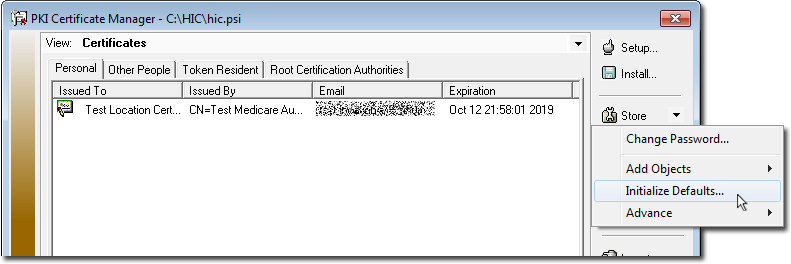
If you have successfully navigated to your PSI Store, you should be presented with a window similar to the following. This image indicates that the PKI Certificate Manager has already located the PSI store.
1. Once
the PKI Certificate Manager is open, click  and select ‘Initialise Defaults’.
2. You will be prompted for your Store password. The Store password was first set when installing the certificates.
3. You
will be presented with a list of certificates that will be imported.
Click to continue.
4. After these certificates have been imported, you should be able to see two Medicare Australia certificates, plus two Catherine Argall certificates under the Other People tab (below). This confirms that you have completed this task successfully.
Deleting Old Certificates
When you import the new certificate, the update process does not delete the old certificate due for expiration. When trying to send claims to HIC or trying to conduct OPV checks, a message appears suggesting the certificate has expired and won’t allow claims to be processed. These expired certificates will need to be manually removed.
1. Via Windows' Control Panel, open the PKI Certificate Manager. You should see the new Medicare Australia certificates, and any old certificates under the Personal tab.
2. Select the certificate to be removed.
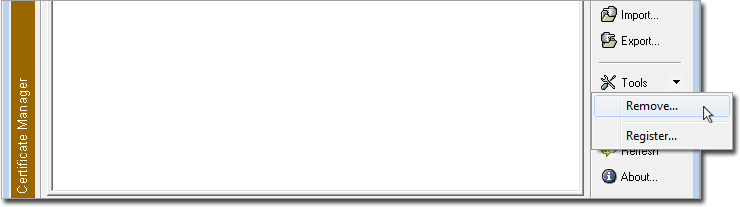
3. Click
 and select Remove.
4. You
will be prompted to enter the Store password.
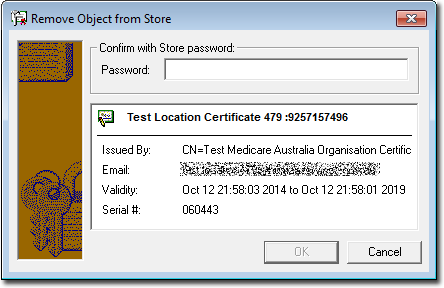
5. Click
 to
remove the expired certificate.
to
remove the expired certificate.
To test a successful certificate renewal, conduct an OPV;
o For Pracsoft, see Online Patient Verification (OPV)
o For Bluechip, see Performing Online Patient Verification