1. Ensure that you have no files open.
2. Either click the Printer icon in the toolbar, or type Ctrl + P. The Print Report window appears.
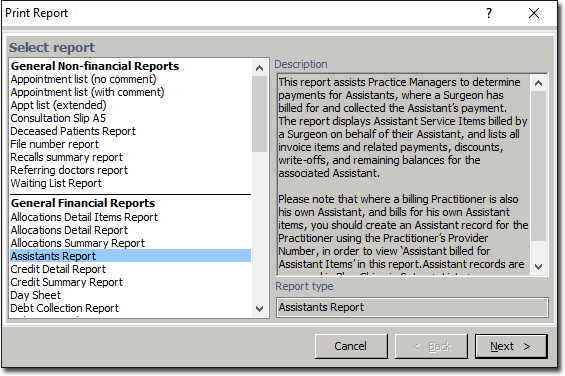
3. In the list of reports, locate and select Statement and the click  The Print Statement window appears.
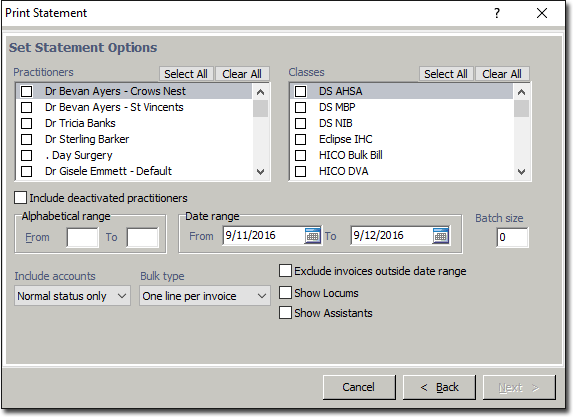
4. Select the Practitioners at each location that you would like to be included in the run, by enabling their associated check boxes. Alternatively select all practitioners/locations by clicking the related  button.
5. Select the classes of patient you would like to be included in the run, by enabling the associated check boxes. Alternatively select all classes by clicking the related button.
6. (Optional) If you wish to isolate a particular alphabetical range of patients, enter the range of letters in the Alphabetical Range fields.
7. (Optional) Enter the date range that you would like the print run to cover. The standard procedure is to leave the From field blank, and to backdate the To field by approximately 1 month.
8. (Optional) Enter a Batch Size into the associated text box. The batch size specifies how many statements will print per MS Word document file.
For example: Suppose you had 20 statements to print. If you specified a batch size of 5, Bluechip will produce up to 5 statements per file. Therefore, based on the 20 statements you have, Bluechip will produce 4 Word files each with 5 statements. Specifying a batch size might be useful if the statement run is very long (e.g. 200+ statements).
9. Via the Include Accounts drop-down list, select from account of 'Normal Status Only', 'Bad Debt Only' or 'All' accounts.
10. Via the Bulk Type drop-down list, select to print 'One Line per Invoice', 'All Invoice Items' or 'One Page per Patient'.
This option is activated when printing statements for debtors that have amounts outstanding for multiple patients. Both One Line per Invoice and All Invoice Items will generate a single statement for the debtor, with each patient listed on that statement. The All Invoice Items option is more comprehensive as it is fully itemised. One Page per Patient is the preferred option for statements involving Medico Legal, Workers Compensation and Third-Party type claims, as a separate statement is generated for each patient with required details such as claim numbers.
11. (Optional) If the Exclude Invoices Outside Date Range check box is enabled, the statement will not include any debts that were incurred by the debtor outside the specified date range.
12. Click to continue. Ensure that the correct printer, tray and number of copies are selected, and then click again to print the report.