Overview
Helix provides for the sending of automatic appointment reminders to patients via SMS. Furthermore, a patient can reply to accept or decline the appointment, and Helix will act upon their response, flagging their appointment accordingly, or cancelling it automatically if you wish.
To make use of this feature:
o Your practice must be configured for SMS messaging.
o The patient must opt-in to receive SMS reminders from your practice.
Configure the Centre for SMS Messaging
1. Locate
and click ![]() at the lower-left.
at the lower-left.
2. Select
the Settings option.

The Settings window appears.

3. Within
the Centre section, click
 The Centre Management window
appears.
The Centre Management window
appears.
4. Locate the centre you wish to edit.
5. Hover
your mouse over the centre name, and then click 

6. Select
the SMS tab.
![]()
7. Enable
SMS reminders by switching the associate toggle switch to
ON.

SMS messaging becomes activated for this centre, and the SMS message
template is revealed.
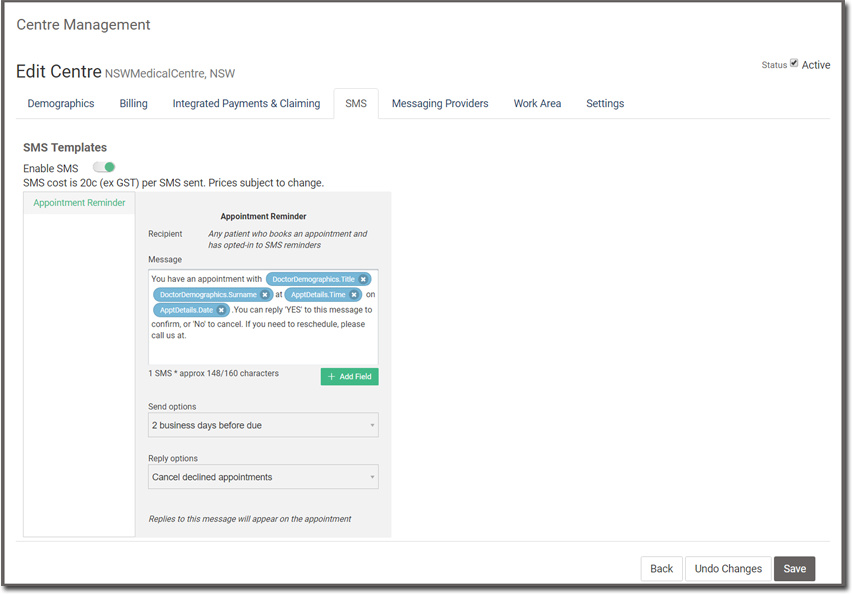
8. Accept
the default message if you wish. Alternatively, you can compose
your own message by typing within the Message box. A range of
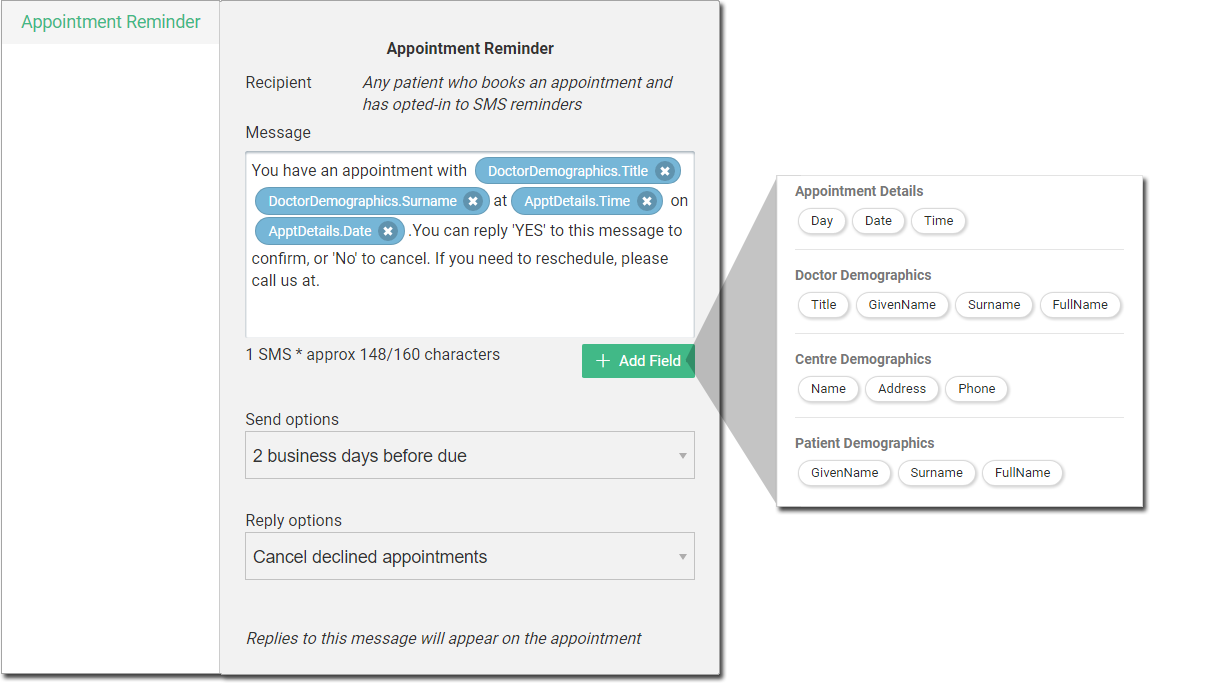
fields is available via the  button.
9. Indicate when you wish reminders to be sent to patients. Options include:
o Disabled
o 1 business day before due
o 2 business days before due

10. Indicate
how you wish to process patient replies, where the patient has
declined the appointment.

Options include:
o Cancel declined appointments.
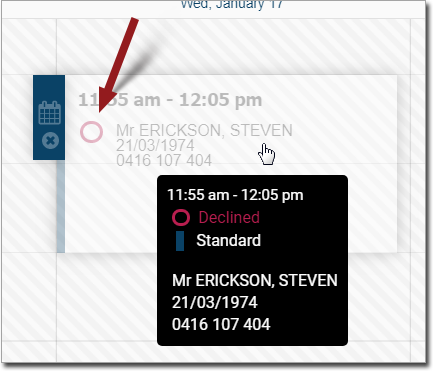
When this option is selected, and a patient declines an appointment,
the appointment is cancelled ('ghosted', as shown below).
o Do not cancel automatically.
When this option is selected, and a patient declines an appointment,
you must decide whether to leave it active, or cancel it.
11. Click
 to confirm and save the changes.
Configure the Patient's Record
1. Ensure you are logged in as a non-clinical user.
2. Click
![]() to select the Patient
panel.
to select the Patient
panel.
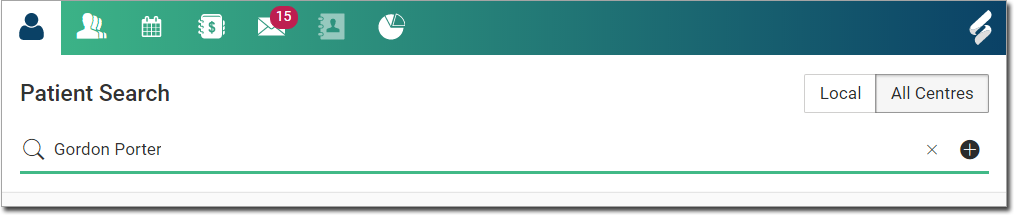
3. Locate
and select the patient.
4. Locate
and click  s
s
The Patient
Details window appears.
![]()
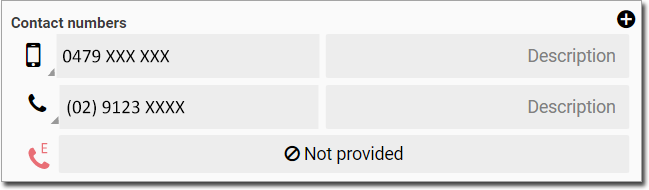
5. Ensure
you have recorded a mobile phone number for the patient.
6. Access
Patient Preferences via
 located at the top-left of
Patient Details window.
located at the top-left of
Patient Details window.
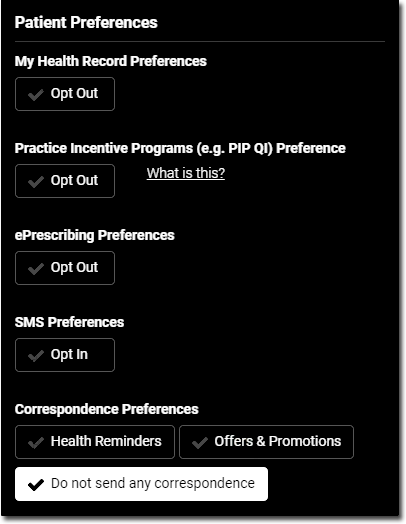
7. Under
SMS Preferences, click
the Opt In button.

8. Click
 to confirm the change.
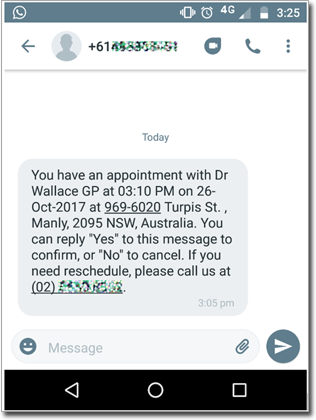
SMS Notifications from the Patient
Example notification sent to the patient.
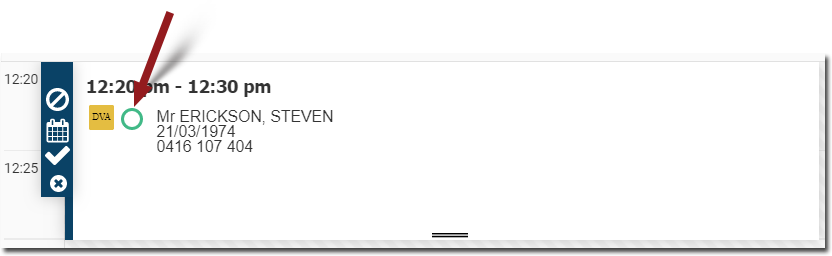
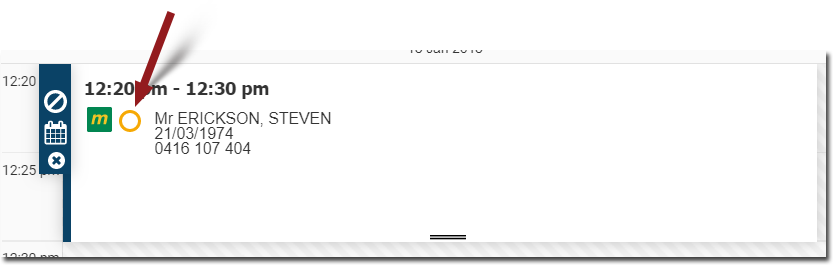
Once a notification has been acknowledged by the patient (they've replied to you), their appointment schedule indicates this, as shown below.
o Patient
has accepted the appointment
by responding with either Yes, Y, Yeah, or OK.
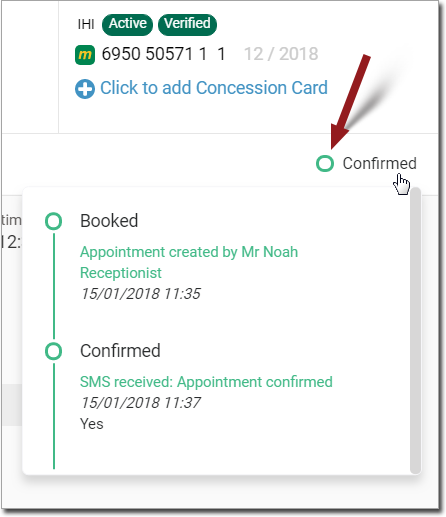
The reply
status is located at the top-right of the visit window. Click
the reply to view a progress timeline, indicating the state of
the current appointment, the history of the patient's interaction
with your practice, and an audit trail of the booked appointment.
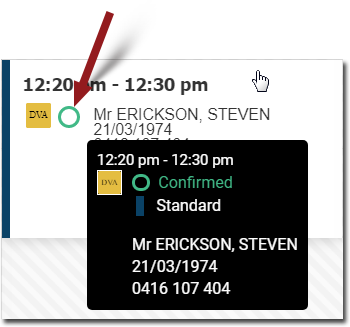
Hover your
mouse over to view details about the appointment.
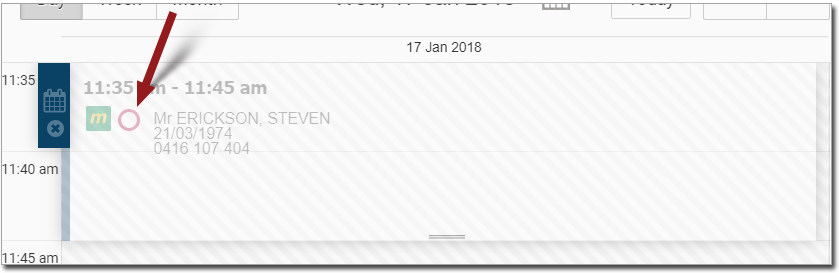
o Patient has declined the appointment by responding with either No, N, or Nope.
If, in SMS settings, you indicated that you do not want to automatically cancel declined appointments, you must decide whether to delete the appointment or keep it active.
However, if you elected to automatically cancel declined appointments:
• The appointment slot is cancelled ('ghosted') to indicate that it is available for another appointment if required.
• Click
 to view the appointment details.
• Click
 to delete the appointment.
You will be prompted to confirm this action, after which the appointment
slot becomes free again.
to delete the appointment.
You will be prompted to confirm this action, after which the appointment
slot becomes free again.
o Patient
has responded, but with an unrecognised response.
![]()
If this occurs, you must manually make a selection:
![]()