Overview
The Inbox is used to view patient investigation results and health summaries that have been delivered electronically to the medical centre.

o The Inbox has various sections containing information about the result:
• The Sent/Document label reflects the date when the result was sent from pathology providers or the document date in the DMS.
• The Performed label indicates date when the test was performed.
• The Type indicates the type of document e.g. Pathology Report.
• The Priority indicates the severity of the result.
• The contact number is displayed in the Patient section along with the name of the patient.
o You can sort results by clicking on the necessary fields.
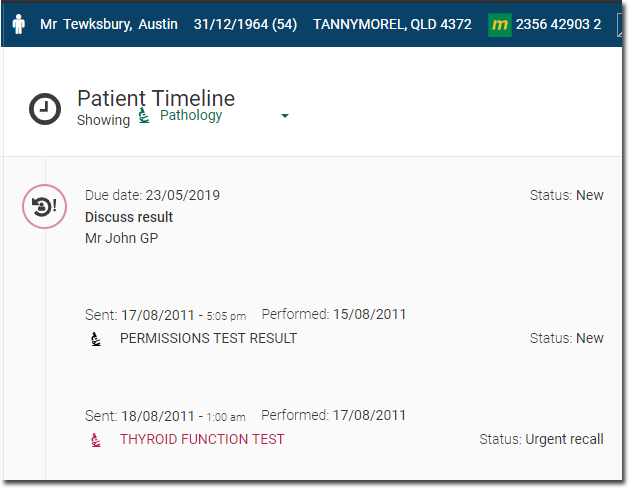
The results, once actioned, get added to the Patient
Timeline where they are displayed with the sent date and performed
date and the status of the action taken. For example, in the image
below, the HCP actions the result in the inbox and marks a recall
as "Urgent Recall" and the actual status is displayed
on the timeline next to the result along with date sent and performed
information.
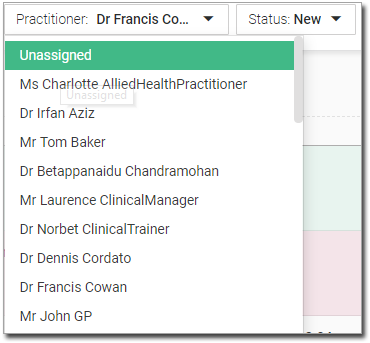
o The
HCP currently logged in is automatically displayed in the clinician
drop-down field, and a list of messages for them is displayed.
This view can be filtered using the options at the top of the
section.

o A
list of unassigned messages can be viewed by selecting Unassigned
from the drop-down list.
Items of Interest in the Inbox
|
Select another HCP to assign the selected Inbox items to. This button is only available if you have selected at least 1 Inbox item. |
|
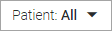
Filter the Inbox to show either items where there is a matching patient or items with no matching patient record. |
|
Filter the Inbox to show all practitioners, a specific practitioner, or any items that are not associated with any practitioner. |
|
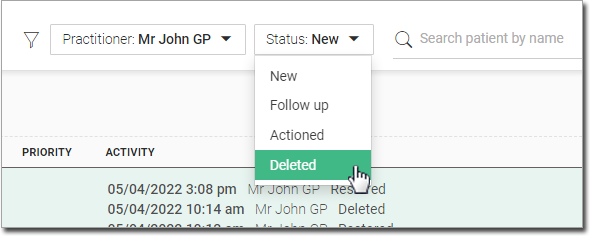
Filter the Inbox to show items are flagged as either New, need to be Followed-up, have been Actioned, or have been Deleted. |
|
If you think
a message should be assigned to a different patient, locate
and click the relevant |
|
Navigate to the previous/next Inbox item. |
|
Expand a selected
messages via |
|
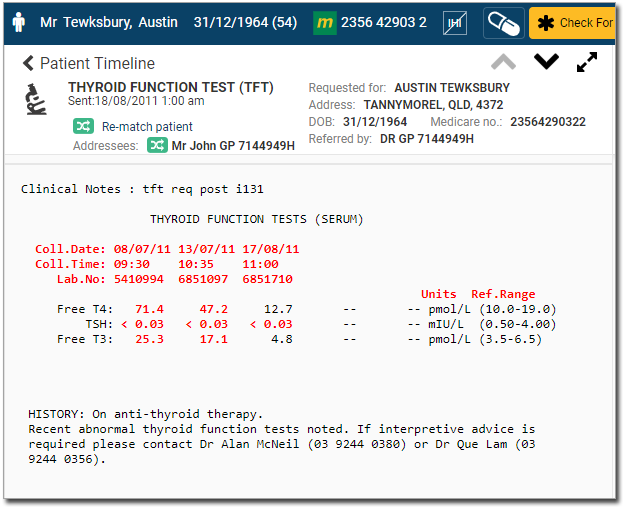
View the associated report. |
|
View the associated image. |
|
Record a comment
about the message. Enter the comment and click |
|
Print the selected message. |
|
Delete the selected message. Deleted items can be restored for up to 30 days, after which they are archived. |
|
Reset a message that has been marked as Follow-up or Actioned. The message returns to the New list of messages. |
|
Mark the message as having been followed-up. The message moves to the Follow-up list of messages in the left-hand panel. Any actions that were taken are displayed in the Comment column. This action cannot be performed on a message until it has been associated with a patient and HCP |
|
Schedule a recall regarding the message. Once the recall is added, the message moves to the Actioned list of messages, and any actions that were taken are displayed in the Comment column. |
|
Schedule an urgent recall regarding the message. Once the recall is added, the message moves to the Actioned list of messages, and any actions that were taken are displayed in the Comment column. |
|
Mark the message as having been discussed with the patient. The message moves to the Actioned list of messages, and any actions that were taken are displayed in the Comment column. |
|
Mark the message as not requiring any action. The message moves to the Actioned list of messages, and any actions that were taken are displayed in the Comment column. |


 Comments are
displayed in the Comment column in the list.
Comments are
displayed in the Comment column in the list.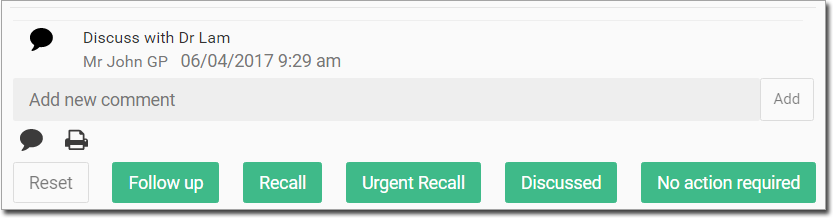


Deleting Items from in the Inbox
When deleting items from the Inbox, please be aware that you can still access these items for 30 days, after which they will be archived.
1. To
delete an item from the Inbox, simply click the item's corresponding
![]() button.
button.
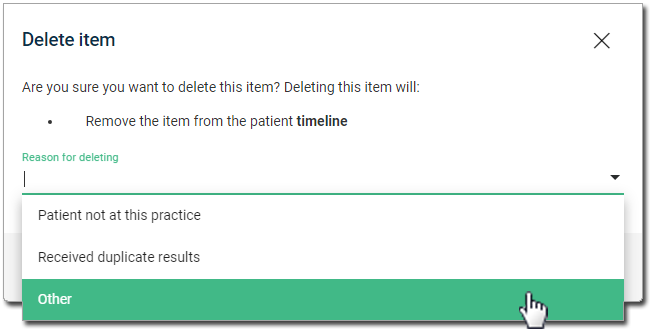
2. You will be prompted to indicate a reason for deleting the item. You can either:
o Select from one of the options provided.
o Or
free-type a reason by selecting the Other
option, and then entering the reason in the space provided.
3. Click
 to confirm.
4. The
item is deleted from the Inbox, and added to the list of deleted
items.
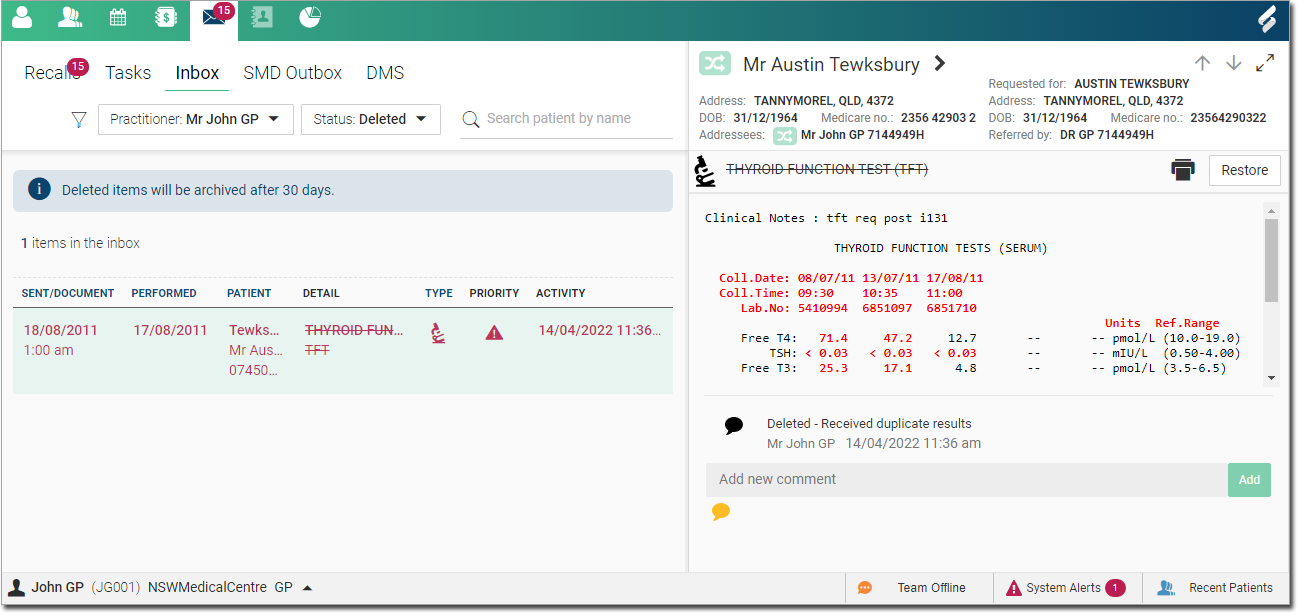
 to restore
the item to the Inbox.
to restore
the item to the Inbox.