Before You Begin
Documents can be uploaded from your computer or can be scanned using your scanner into Helix Before you can scan documents into Helix, ensure you have installed the Helix Agent.
Import a Document
A single / multiple documents can be uploaded at a time into Helix. A maximum of 25 documents can be uploaded at one time. File size of each document cannot exceed 30 MB.
1. Locate
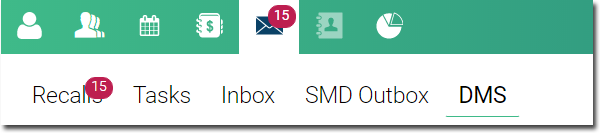
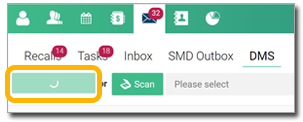
and click ![]() to access the Message Centre.
to access the Message Centre.
2. Access
the DMS
panel.
3. Locate
and click 
4. You
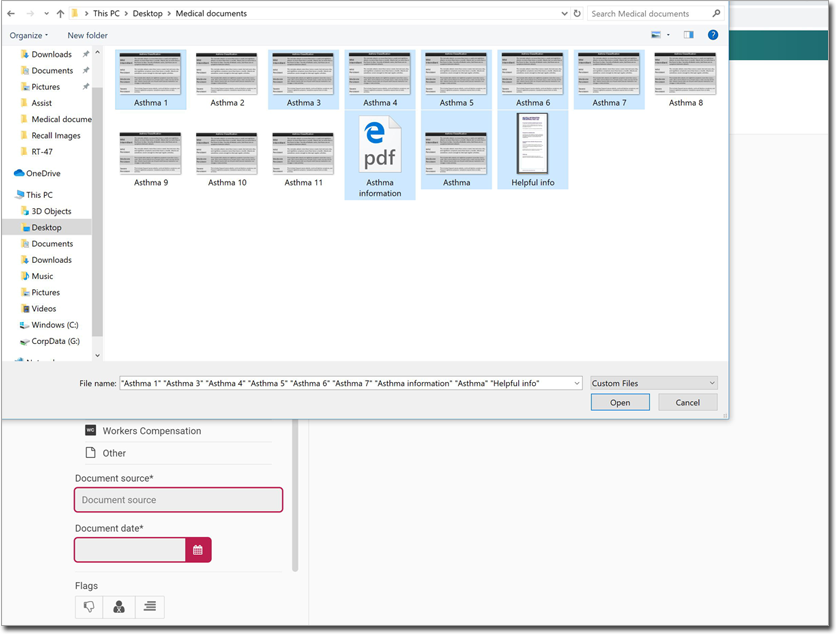
will be prompted to locate and select the file/s you wish to upload.
5. Click
 to start uploading the selected files. The
progress of uploading is shown.
to start uploading the selected files. The
progress of uploading is shown.
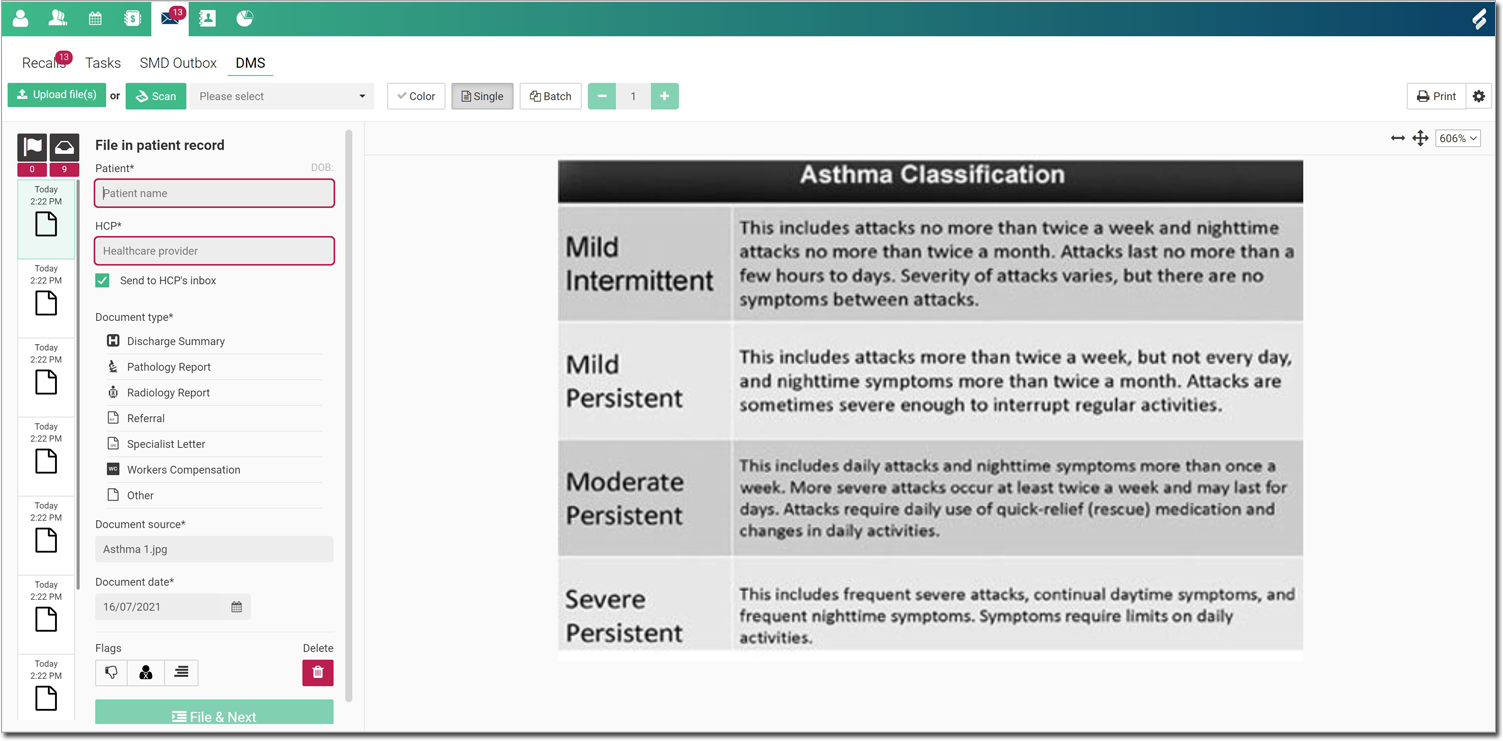
6. The
files are uploaded, and added to the bottom of the list of uploaded/scanned
files. Notice that in our example, we have uploaded 9 documents.

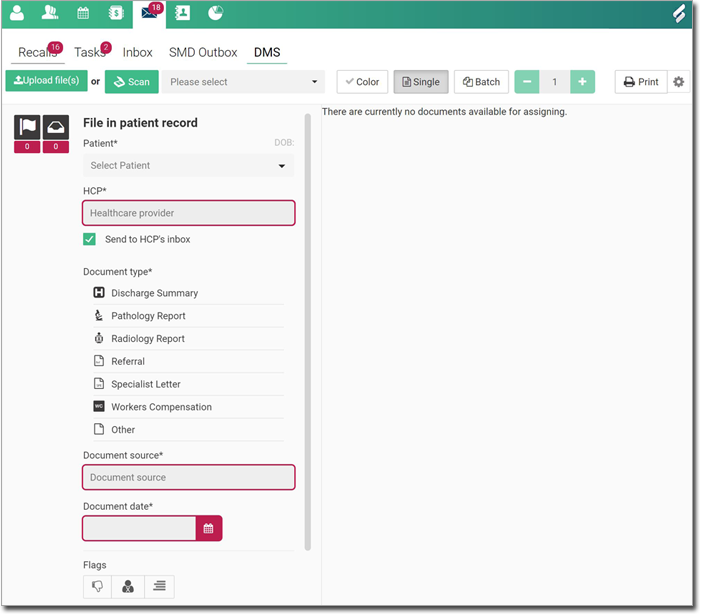
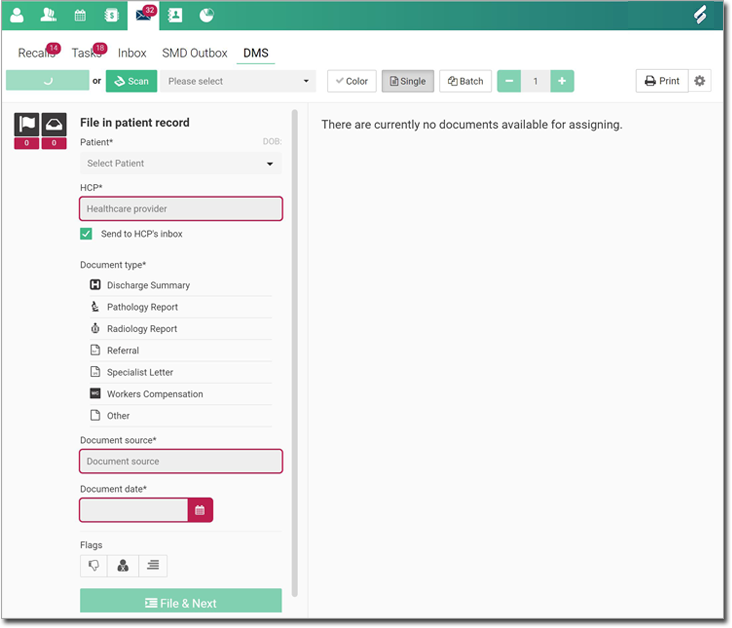
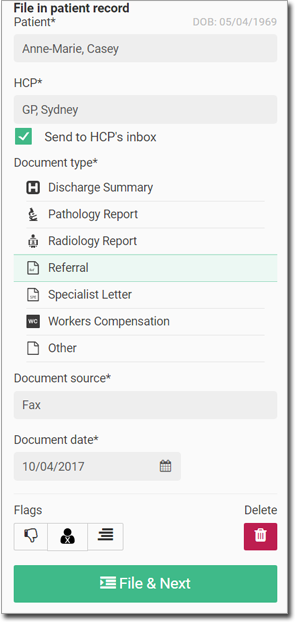
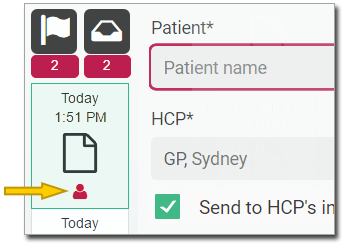
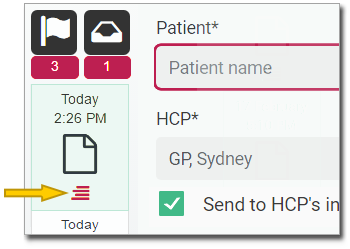
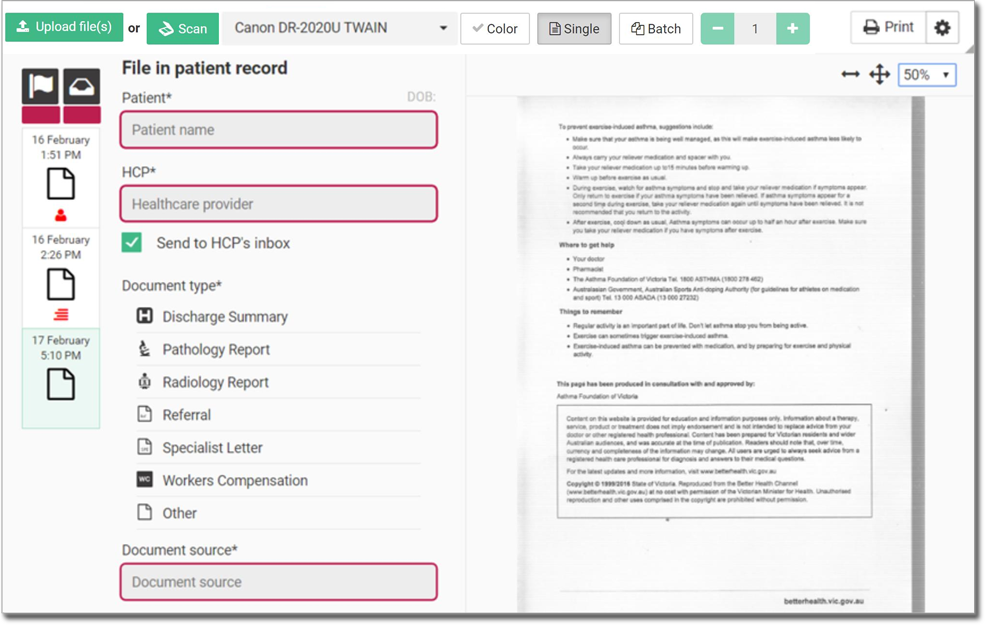
7. Select one document at a time among the several documents you just uploaded, and indicate the following information:
o Patient to file the document(s) with.
o Patient's HCP.
o Whether you also wish to file a copy to the HCP's Inbox. This option is ticked by default.
o Document type.
o The document's source e.g. fax
o The
document date. This is the date on which the document was received
by you, and not necessarily the date on which you scanned it.
Optional
flags:
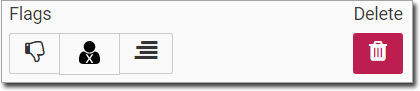
|
Flags the selected document as a Bad Scan. Documents flagged in this way can be replaced later, if for example you are able to obtain a higher-quality source document to scan.
|
|
Flags the selected document to indicate that the associated patient could not be found in the system. Documents flagged in this way can be left in the system until you have created a record for the patient.
|
|
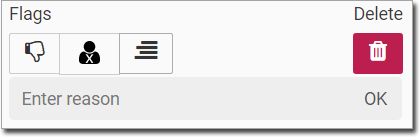
Flags the selected document with a custom reason of your choosing. Upon selecting this option you will be prompted to describe the reason.
|
|
Deletes the selected document. You will be prompted to confirm this action. |


8. When
you are ready to save the selected document to the patient's record,
click 
Scan a Document
1. Locate
and click ![]() to access the Message Centre.
to access the Message Centre.
2. Access
the DMS
panel.
3. Locate
the scan settings section.
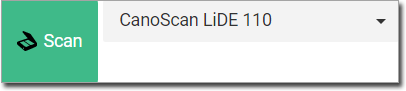
4. Indicate which sort of scan you wish to perform;
|
Scans one or more pages into a single document. If your scanner has multi-page capability that allows you to scan multiple pages via a sheet feeder (for example), you can combine multiple pages into a single document. |
|
Scans one or more pages into multiple documents. Consider
the scenario in which you have two Specialist letters
for your patient, and each letter consists of three pages.
Set the page indicator to |


 and then
click
and then
click
5. To
commence the scan, click  A progress
window will indicate when the scan is underway...
A progress
window will indicate when the scan is underway...
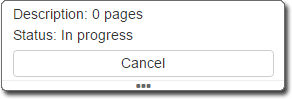
...and then completed.
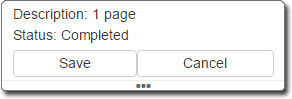
6. You
can continue to scan documents if desired. Do not click  until you have scanned all the documents
you wish to for this session.
until you have scanned all the documents
you wish to for this session.
From this point you can;
|
Save the scan. Continue now to Step 7. |
|
Cancel the scan. |
|
Examine the scan queue.
|


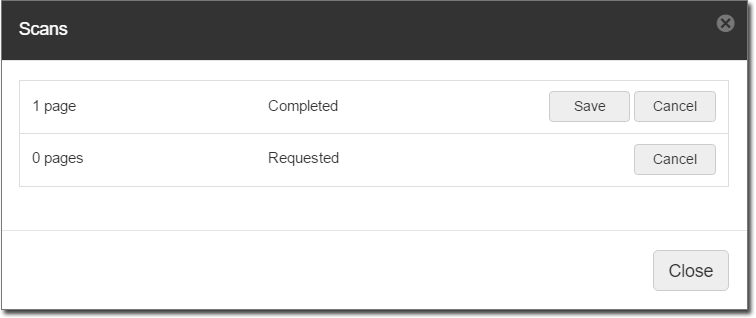
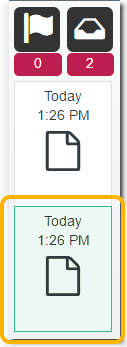
7. When the scan has completed, all the documents you scanned are added to a list on the left-hand side of the panel.
Notice that in our example, we have
scanned 9 documents.
8. Indicate the following information;
o Patient to file the document(s) with.
o Patient's HCP.
o Whether you also wish to file a copy to the HCP's Inbox. This option is ticked by default.
o Document type.
o The document's source e.g. fax
o The
document date. This is the date on which the document was received
by you, and not necessarily the date on which you scanned it.
Optional flags:
|
Flags the selected document as a Bad Scan. Documents flagged in this way can be replaced later, if for example you are able to obtain a higher-quality source document to scan.
|
|
Flags the selected document to indicate that the associated patient could not be found in the system. Documents flagged in this way can be left in the system until you have created a record for the patient.
|
|
Flags the selected document with a custom reason of your choosing. Upon selecting this option you will be prompted to describe the reason.
|
|
Deletes the selected document. You will be prompted to confirm this action. |
9. When
you are ready to save the selected document to the patient's record,
click
Print a Document
1. Locate
and click ![]() to access the Message Centre.
to access the Message Centre.
2. Access
the DMS
panel.
3. From
the list of scanned documents on the left-hand side, select the
document you wish to print.
4. Locate
the  button at the top of
the window, and click either;
button at the top of
the window, and click either;
o  to print a single copy of the document to your default
printer, using its default settings.
to print a single copy of the document to your default
printer, using its default settings.
o  to expand the print settings where you can select a printer and
tray etc. After configuring settings to your needs, click
to print the document.
to expand the print settings where you can select a printer and
tray etc. After configuring settings to your needs, click
to print the document.

Scanned Documents in the Timeline
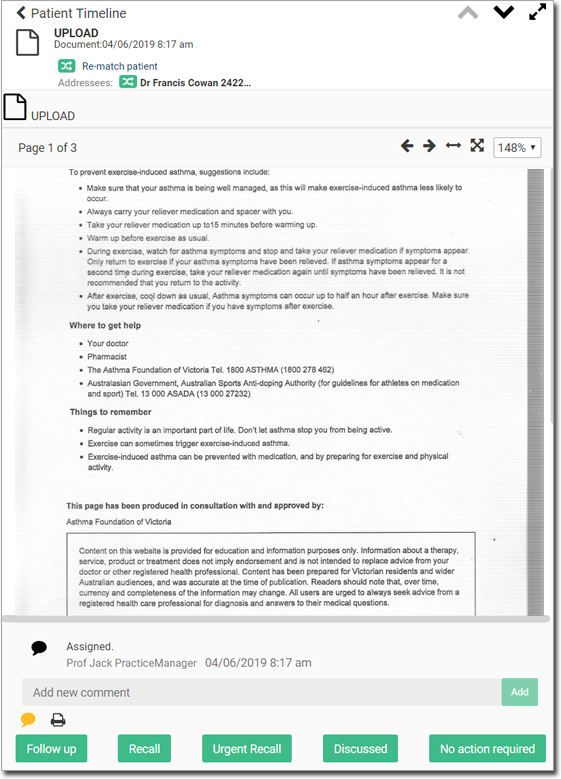
After a scanned document has been assigned to a patient, an entry for it is added to the patient's Timeline.
In our example below, a document was scanned, we recorded its source as 'fax', and assigned it to the patient. 'Fax' now appears in the patient's timeline.
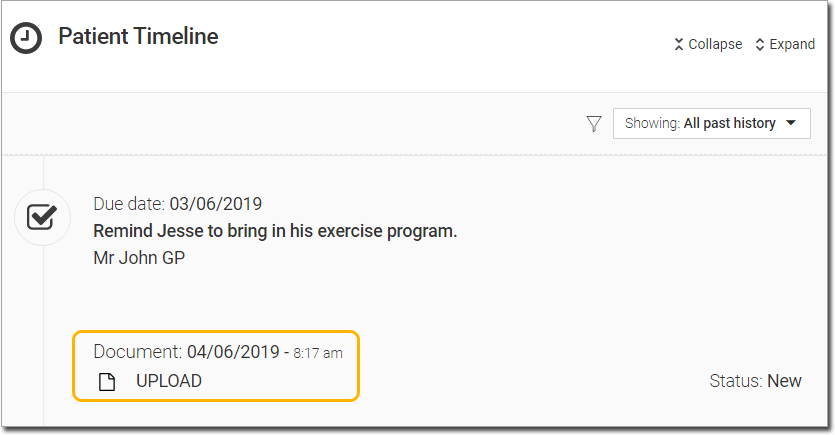
Click on the entry in the Timeline to view the scan.