See also: Documents
You can import files of any format, and open them from MedicalDirector Clinical, provided you have an associated application for that file on your computer. For example, if you import a file with an extension of .txt (text file) and attempt to open this file, Clinical will open it in Windows Notepad, as this is the default program registered to open this type of file. In other words, Notepad is the associated application for files of type '.txt'.
Clinical does not link to external documents, but saves a full copy of the imported file in its own database. As such, once a file has been imported into the Clinical database, it can be safely deleted from your computer's file system. However, you should check with your computer administrator before deleting unwanted files from your computer.
You can import files either directly into a patient's record via the Correspondence tab, Results tab, Letters tab or Documents tab, or from the Clinical front screen or via the Holding File. Although the importing process is the same regardless of where you initiate it from, the following instructions will use the Correspondence tab in the patient's Clinical Window.
Note that users with limited/basic access to Clinical can perform scans/imports on behalf of a patient/practitioner. However, they cannot record clinical data against those scans, such as creating Recalls or recording Actions. As such, these users do not have access to the Holding File (in which scans/imports can be performed), nor necessarily the patient's record. To account for this, MedicalDirector Clinical provides a separate facility for scanning /importing documents accessible to users with restricted access. This facility behaves much like that of the 'standard' provided, and is accessed via either the patient's record or the Clinical front screen by selecting File > Scan/Import Correspondence. See also Document Management Scenarios.
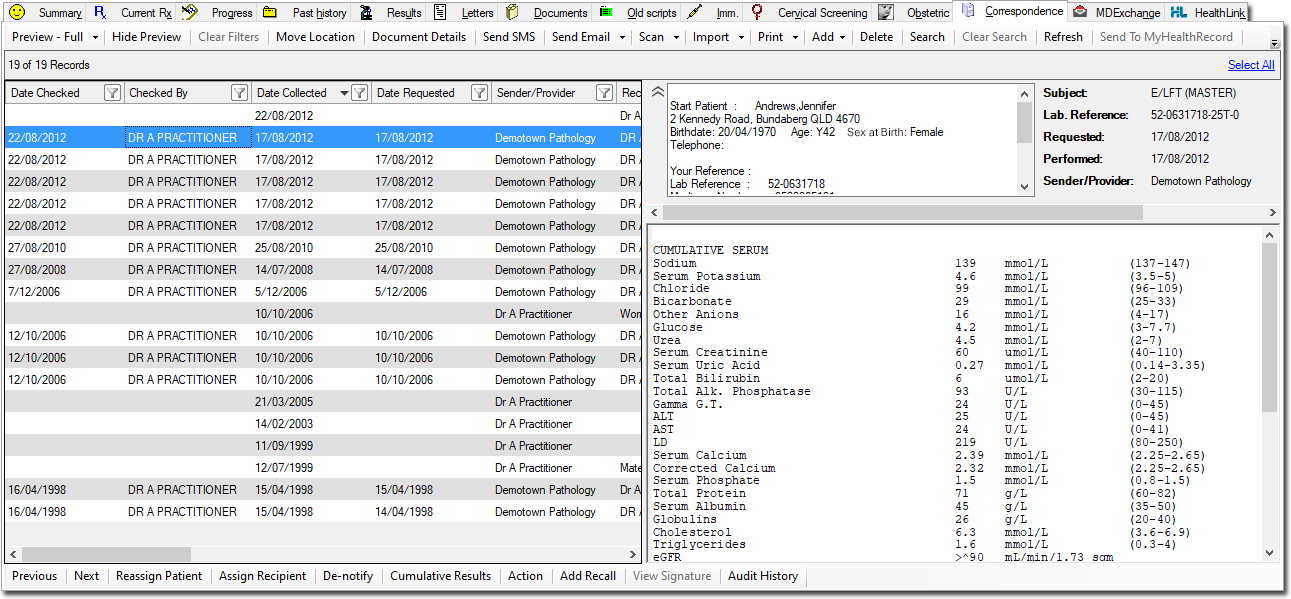
1. Select
the Correspondence
tab within a patient's record.
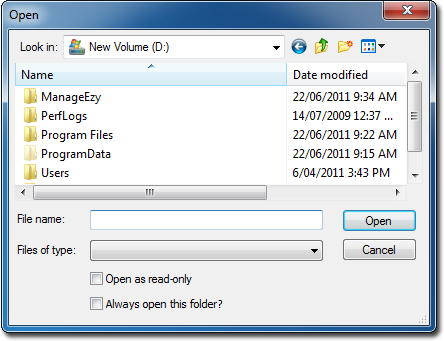
2. Click
the Import
link. The Open window
appears. Browse to and select the file you wish to import. Click
 when
you are ready to continue. Alternatively, click
when
you are ready to continue. Alternatively, click ![]() to select the 'Import
to Single Item' option, which allows you to import multiple files
simultaneously and save them as a single record in Clinical. See Multi-page
Documents and Records for more information.
to select the 'Import
to Single Item' option, which allows you to import multiple files
simultaneously and save them as a single record in Clinical. See Multi-page
Documents and Records for more information.
3. The
Document Details window
appears. Enter details as desired. The Subject and Document Type
is required information.
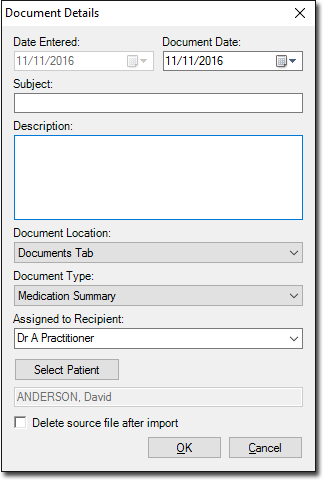
4. Click OK to save the document information and close the Document Details window. Your scan will now appear within the patient's record.