See also: Patient Photographic Identification
You can edit patient photos that are either:
o The patient's current photo, or
o Listed in the patient's photo history list, available via the Existing Photo tab of the Change Patient Photograph window, as shown following, or
o Imported by you when you select a new photo from your computer.
1. From within the Clinical Window, either;
o Select Patient > Photos > Change
o Right-click the portrait space at the top-right of the Clinical Window and select Change Photo...
o Click the portrait space at the top-right of the Clinical Window.
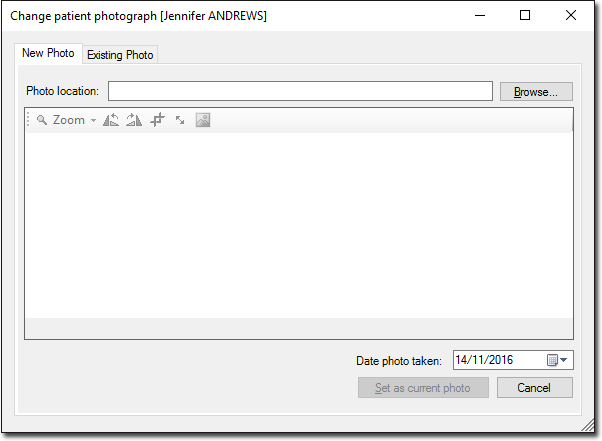
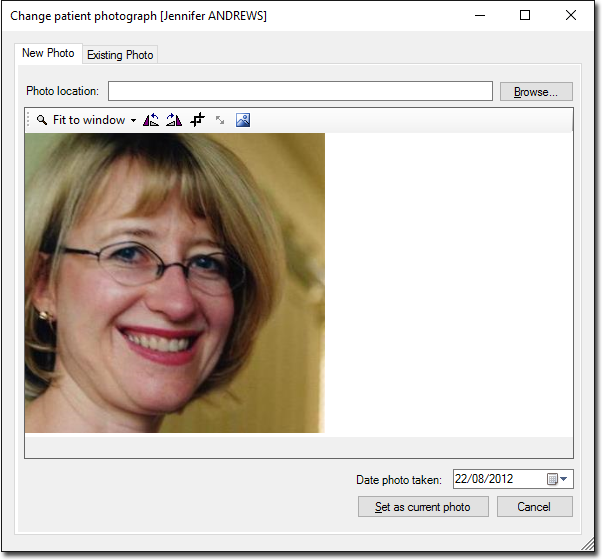
2. The Change Patient Photograph window appears.

If you have imported a new photo, you can edit it now using the editing tools.
3. To edit your current photo or one from your Photo History list, select the Existing Photo tab.

4. (Optional) If you wish to edit a photo from your Photo History list, select the photo now.
5. Click  You will be returned to the New Photo tab. This tab contains the image editing tools.

6. Make edits to the image as necessary. The following table explains how to use the image editing tools.
|
Image Editing Tools |
|
7. When you have finished editing the image, click  to confirm the changes. You will be returned to the patient's Clinical Window with the new photo in place.


