The following information describes how to allocate a payment to specific service items across multiple accounts, and then issue a receipt for that payment. You can also distribute a payment to multiple service items for a single account.
1. Issue the new receipt. Complete all fields in the Payment Method section (the Amount field must have the total amount of the payment). The total received and the unallocated amount (which is the outstanding amount in this patient's account) is displayed, as shown below.
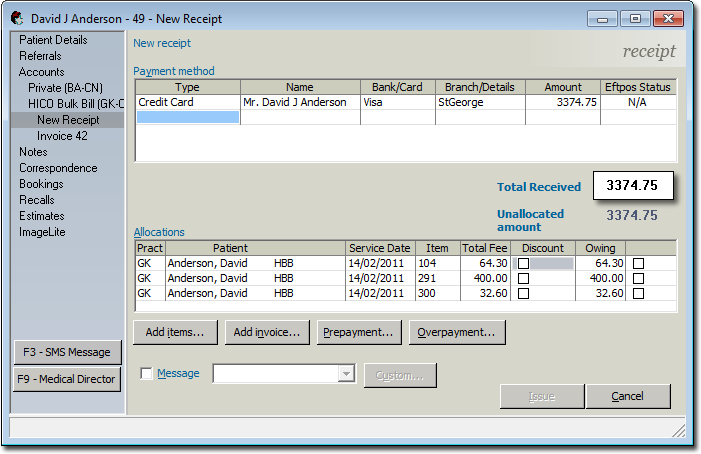
2. Allocate the amount that is being paid to the current practitioner's account by selecting the appropriate check boxes in the Allocate column, as shown below.
3. Click  The Select Invoice Items window appears.
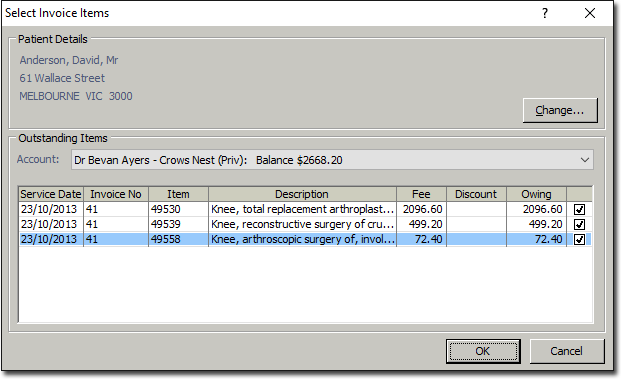
4. Via the Account drop-down menu, select one of more accounts that you would also like to assign payments to. Once you have selected an account, it's associated outstanding service items will be listed.
5. For each service item you wish to allocate payment to, tick its associated check box, as shown below.
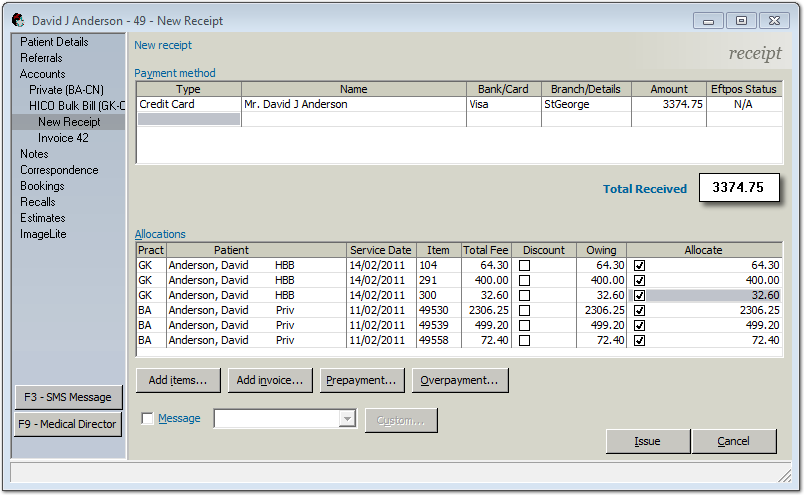
6. Continue allocating payments to different service items for different accounts as desired. Click  when you have finished. You will be returned to the New Receipt window. Notice in the example below that the Allocations section now shows that the Total Received by the patient has been allocated to multiple accounts, for multiple Service Items.
7. Click  to issue a receipt. You will be prompted to indicate whether you wish the receipt to be split across more than one bank account.
8. Click  to continue. The Issue Receipt prompt appears.
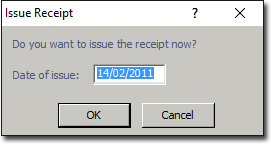
9. (Optional) It is assumed that you wish to issue the receipt on the current date. You can modify the date at this time if desired.
10. Click when you wish to proceed with issuing the receipt. The Print Report prompt appears.

11. Select the type of receipt you wish to print and then click  to continue. You may be presented with printer options to select from, after which you can print the receipt.
12. You will then be returned to the Invoices tab for the selected account.