1. Ensure you have elected to access to the Outlook® Style Appointment Book, via Practice Explorer Preferences.
2. From the bottom-right of the Bluechip main window, click  The Practice Explorer appears.
3. Within the Practice Explorer Margin Menu, select the Appointment Book. The Appointment Book window appears.

Note that the image above shows 'Day' view, and displays the appointment schedules for multiple practitioners. The layout you see may differ, depending on what selections you have made, as explained following.
4. Create the first appointment. See Single Appointments for more information.
5. Locate the blank space to the right of the current appointment.
6. Click within this blank space to select the same time slot of the current appointment.
7. Create the second appointment. Because you are attempting to book multiple appointments to the same time slot, you will be alerted to this.
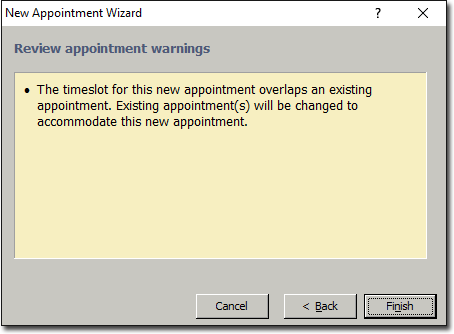
If you were to click  at this point, Bluechip assumes that you want this new appointment to take priority over the existing appointment; both appointments will be scheduled for the same time slot, but this appointment will be flagged as 'Appointment No.1'. If this is what you want, click now, and go to Step 10. Otherwise, continue now to Step 8.
8. Click  You will be returned to the previous window where you can modify the priority of this appointment, via the drop-down list provided.
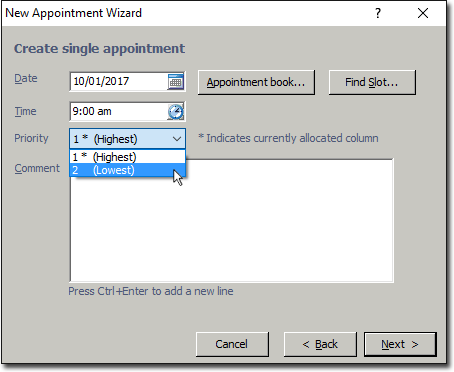
9. Select a different priority for this appointment. Where an * appears next to a priority level, this indicates that the priority level has already been assigned to an existing appointment.
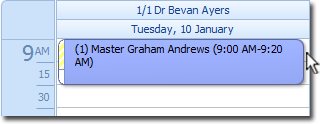
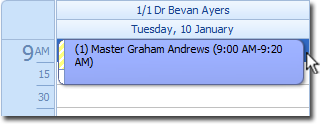
10. When you return to the Appointment Book, the multiple bookings will appear, as shown in the following example.

If you wish to change the priority of bookings, simply double-click a booking and modify the priority as explained in Steps 8-9.