1. For convenience, ensure you have done the following first;
o Created an account for the patient.
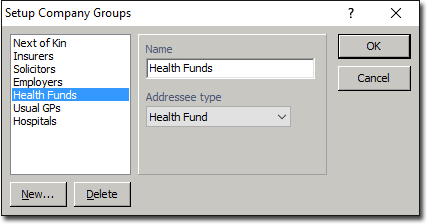
o Configured your various Company Groups with their appropriate Address Types, and example of which is shown in the following image.
2. Open the Patient's Record.
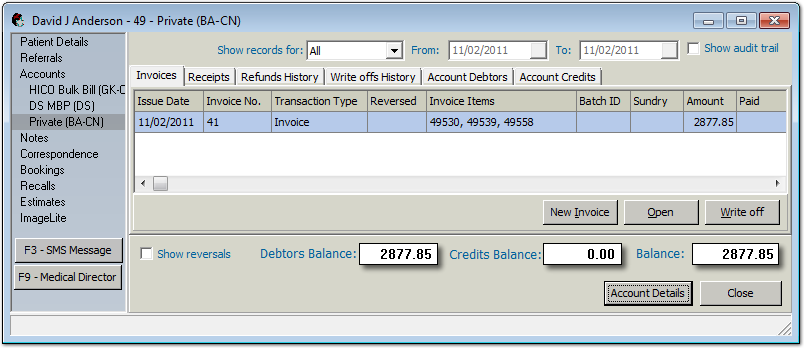
3. From the Margin Menu, select Accounts. The list of accounts is displayed.

4. Select an account and click  You are presented with the details of the account.
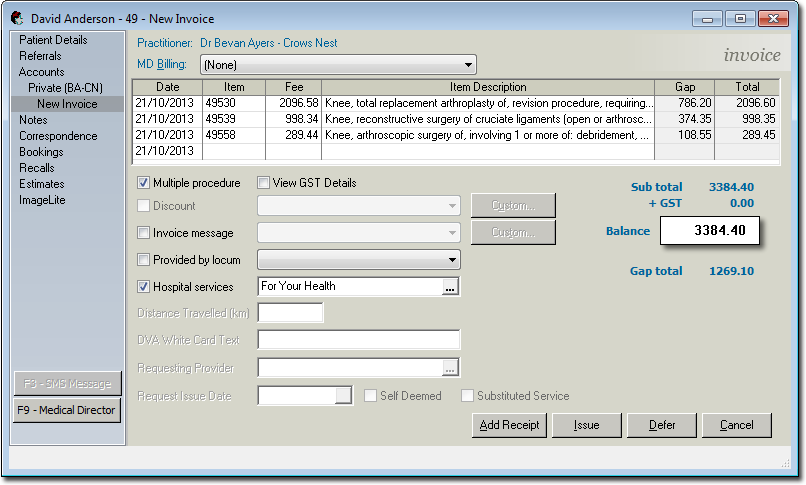
5. Click  The New Invoice window appears.
The content of this window may vary slightly, depending on the requirements of the account for which you are creating the invoice. The example below is for a private account.
Due to Medicare Online claiming rules, non-radiation and radiation oncology service items cannot be mixed on a single invoice - they must appear on separate invoices.
This window may also display Quantity and Equipment fields. These fields are available if you have enabled Radiation Oncology billing for Medicare (non-DVA) batch types or enabled Quantity / Equipment for Non-Medicare Classes and Service Items.
6. (Optional) The Date field in the Invoice window is automatically set to the current date. If the date of service that you are invoicing is different from the current date, you can manually enter a different date. Press Enter to move to the Item field.
7. Add Service Items to the invoice by entering their associated Service Item number into the Item field. If you are not sure of the number, you can search for it by double-clicking the item field (to access the field) and then pressing TAB.
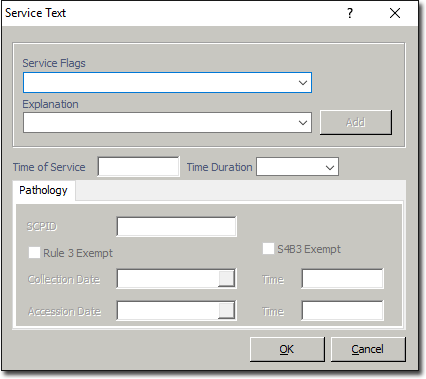
Some services of Medicare Australia online claim types may require additional information (for example After Care, Duplicate Procedure) to assist Medicare in assessing the claim. This additional information can be added to each Service Item as required by clicking the  button (within the ‘Service Text’ column) and completing the Service Text form (as shown following). Note that for private accounts, the Service Text entry option is not available.
The various fields within the ‘Service Text’ window are available to use dependent on the selected Claim type and Service type for invoice generation. For example, the ‘Pathology’ tab is enabled only for ‘DVA’ claims and ‘Pathology’ service type selected services only.
8. Other options:
o To modify the description double-click in anywhere in the Item Description field and move the cursor to the point where you wish to begin editing.
o You can change the fee for a given service item or you can setup standard fees, based on the class of patient and the Practitioner whose service is being billed.
o You can add multiple items to the same invoice. If you accidentally start adding an extra line to the invoice, highlight any field on that line and press Ctrl+Delete.
o Select the Multiple Procedure check box to implement a scaling calculation for the invoice items. When raising invoices to be sent to Medicare, items that have been changes based on multiple procedure scaling (where a number of services are performed and a pro-rata amount is charged for each service) must be indicated using the service text.
o GST details can be viewed by enabling the View GST Details check box.
o Offer a discount by enabling the Discount check box and then selecting a percentage discount. When raising invoices to send to the Medicare, the Discount field is disabled.
o Print a message on the invoice by enabling the Invoice Message check box. You can then select from any pre-defined messages you have or modify a message by clicking the corresponding Custom button.
o Indicate whether the items were performed by a locum by enabling the Provided by Locum check box and then specifying which locum via the associated button.
o Select the Hospital Services check box to indicate that the service was performed at a hospital. You can then click the button to select the specific hospital from those in your Bluechip database. When an invoice is issued for an in hospital service, the hospital name must be nominated and recorded in the invoice.
o When preparing an invoice for DVA claim, enter the distance travelled into the Distance Travelled (km) field.
9. When you are ready to issue the invoice, click 
o The Referral window appears for invoice items requiring a referral (for invoices to be sent to Medicare). If a referral is not available this must be indicated to Medicare. Select the referral for this patient as appropriate.
o If the Multiple Procedure check box is enabled, the Multiple Procedure Scaling window appears. Make adjustments as necessary and click  to continue. See Multiple Procedure Scaling for more information.
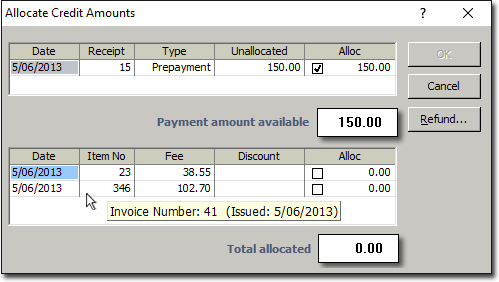
o If prepayments had been made for this account, the Allocate Credit Amounts window appears. Allocate the prepayment amount (top) to the invoice amount (bottom), and then click to continue. Note that if you have multiple invoices available (as in the example below) you can determine which invoice item you wish to allocate the payment to by hovering your mouse over the item row.
10. The Issue Invoice window appears. Enter a date of issue.
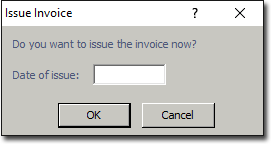
The date of issue does not have to be same as the date of service, nor the same as the date of entry. The date of issue is the date on which the age of the debt is calculated, and should therefore be the same as the date on which the invoice is originally raised in the system. For example, you may be raising an invoice on Tuesday 2nd July for a service that was provided on Friday 28th June. The date of service would be 28/6, but the date of issue of the invoice should be 2/7.
11. Click to continue. The Print Report window appears.
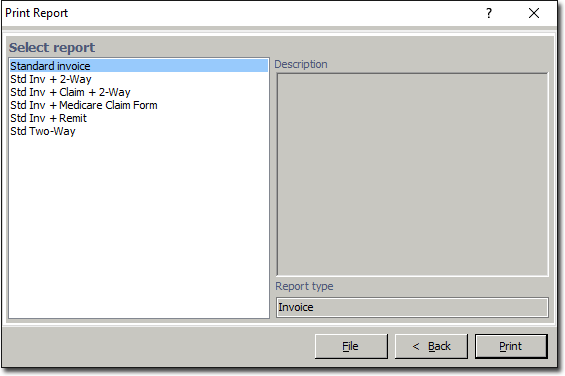
12. Select the appropriate option and click  hardcopy print or
  to save the printed invoice as a file.
You will need to select the correct printer and tray, the first time you print an invoice, on each computer. Once you have printed an invoice once on each computer, Bluechip will remember the last settings you chose and automatically default to them the next time you print.
Now that you have completed creating the invoice, you may issue a receipt.