o Users of SQL 2008 R2 must install the Backward Compatibility Components from the SQL Server 2008 Feature Pack from the Microsoft Download Center, available at http://go.microsoft.com/fwlink/?LinkId=202308&clcid=0x409/
o If you are not logged into Windows with Administrative privileges, and you have UAC (User Access Control) active in Windows, you may be prompted to login as a user with appropriate privileges, and/or prompted to allow Windows to run the Bluechip Backup application.
o If you choose to backup to a drive other than your primary drive, ensure that the primary drive has enough spare disc space, as the back up will be created in a temporary folder on this drive first.
To Perform a Simple Backup in Bluechip
1. From within Bluechip, select BC Tools > HCN Backup. You will be prompted to exit Bluechip, after which you can proceed.
2. The HCN Back/Restore Wizard appears.

3. Ensure the Advanced Backup View check box is disabled.
4. Click  You will be prompted as to whether you wish to backup or restore. Select the backup option.
5. Click You will be prompted to select to back up one of the following:
o HCN Database Data
o HCN Files (if you select this option, proceed now to step 7)
o All HCN Data
6. Click You will be prompted to enter the details of the database you wish to backup.
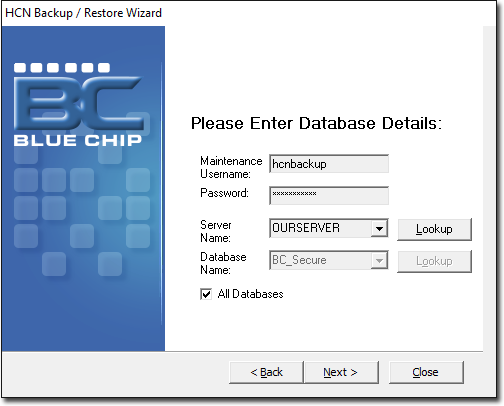
o Enter the Maintenance Username and Password, both of which are hcnbackup.
o Select the name of the Server where your Bluechip data is located. To have Bluechip search your network for a list of available server, click the Lookup button.
o Select the name of the Bluechip Database. To have Bluechip generate a list of available databases, click the Lookup button. Alternatively, you can backup all databases by enabling the associated check box.
7. Click to continue. You will be prompted to choose whether to run the backup now, or schedule it for later.
o If you wish to run the backup now, enable the associated check box and the click The backup commences. You will be prompted when it has completed. You have now completed the backup wizard, and do not need to continue to step 8.
o If you wish to schedule the backup to run later, ensure the Run Now check box is disabled. Continue now to step 8.
8. The HCN Task Scheduler appears.
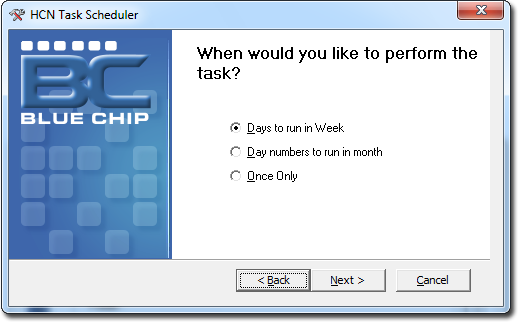
Choose the frequency of the schedule backup(s) you wish to perform, form the options provided.
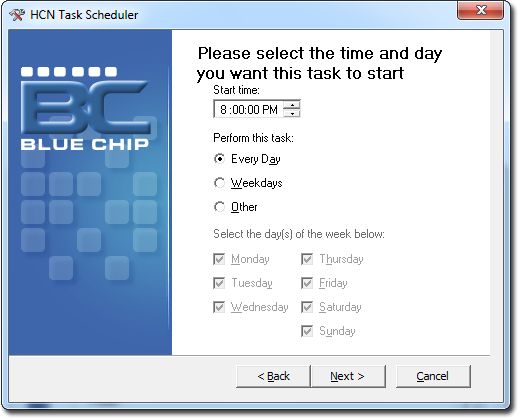
9. Click to continue. Depending which option you selected in step 8, you will now be provided with settings specific to that option, an example of which is shown below.
10. Click when you are ready to continue. You will be prompted to enter your domain credentials, if necessary.
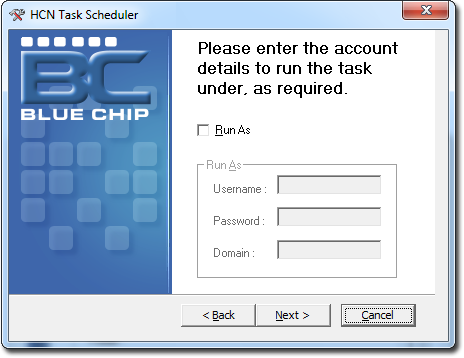
If your network domain settings require that you have permission to run a scheduled task, enable the Run As check box and then enter the domain name, and your Username and Password for that domain. If you are unsure of this, please consult your Systems Administrator.
11. Click to continue. You will be prompted that the backup has completed. Note that this prompt indicates only that you have completed configuring the backup wizard - the backup itself will be performed as per the schedule you setup in step 9.