![]()
1. From the Bluechip main window, either;
o Click ![]()
o Press Ctrl + O on your keyboard
o Select File > Open.
2. The Open window appears.
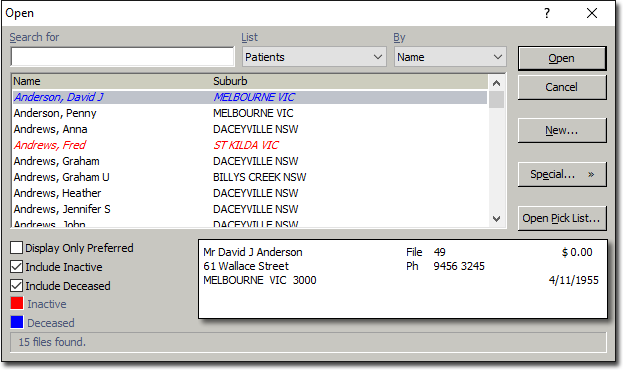
From here you can search for and select an existing patient record, and then view/edit the record by clicking 
To create a new record, continue to Step 3.
3. Click  The New Patient window appears.
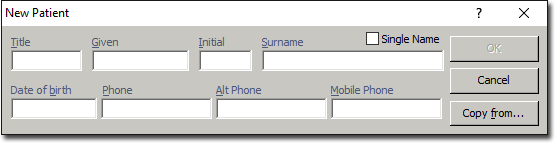
4. Enter details as appropriate. It is advisable to enter as much information as possible, as this reduces the risk of inadvertently duplicating patients.
Optionally, you can elect to create this patient's record based on the details of an existing patient or parent record. Click  and then select a parent/patient from the list that appears. If you use this method, the new patient's demographic data will be copied from the other's record, and you will immediately be transferred to the Patient Explorer window for the new patient, after which you can add their remaining details. If you choose to do this, proceed now to Step 8. Otherwise, continue to Step 5.
5. Click  to confirm.
6. (Optional) If you have elected to enforce the manual recording of patient File Numbers, you will now be prompted to enter a new File Number for the patient.
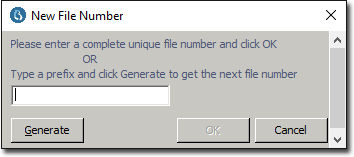
You can either:
o Enter a new, unique file number, or
o Enter a prefix for the number, and then click  to have Bluechip auto-generate a sequentially-incremented suffix.
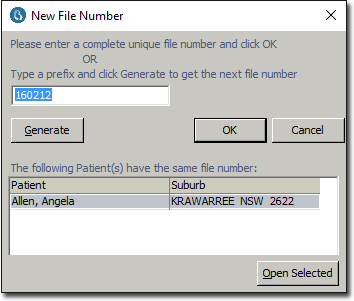
If you enter a number that has already been assigned to a patient, you will be prompted accordingly, and indicated as to which patient already has the given number, as shown below.
7. Click when you are ready to continue.
8. You are returned to the Bluechip main window, where the Patient Details window for this patient now appears.
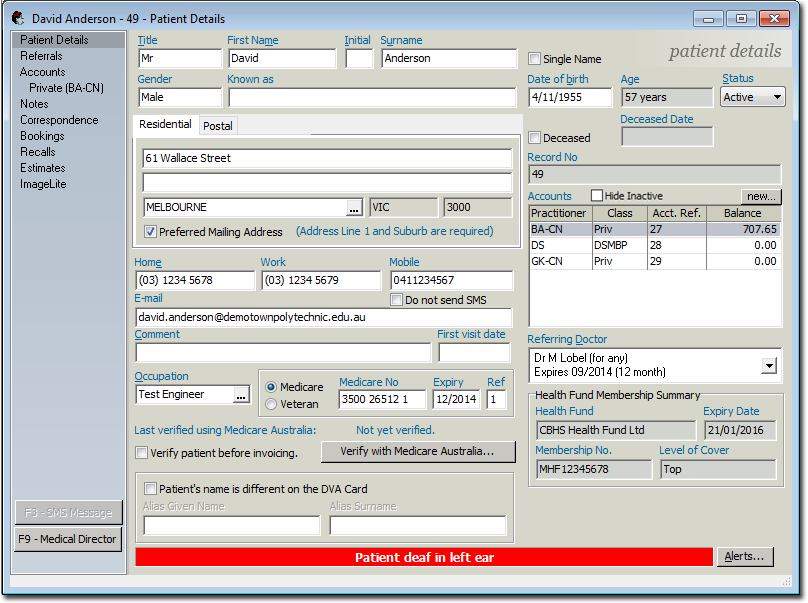
From here you can enter the remainder of the patient's details.